-
Notifications
You must be signed in to change notification settings - Fork 0
Day 0
For this course, we will utilize workspaces provided by Coder, a cloud-based development environment that allows you to code and execute code remotely. It provides a web-based IDE and terminal interface accessible from any device with a web browser. Coder workspaces are hosted on a remote server, specifically on deNBI, enabling you to access your development environment from anywhere. Each user is allocated a workspace with 5 cores and 100GB of RAM.
ℹ️ We recommend using Google Chrome to access Coder workspaces.
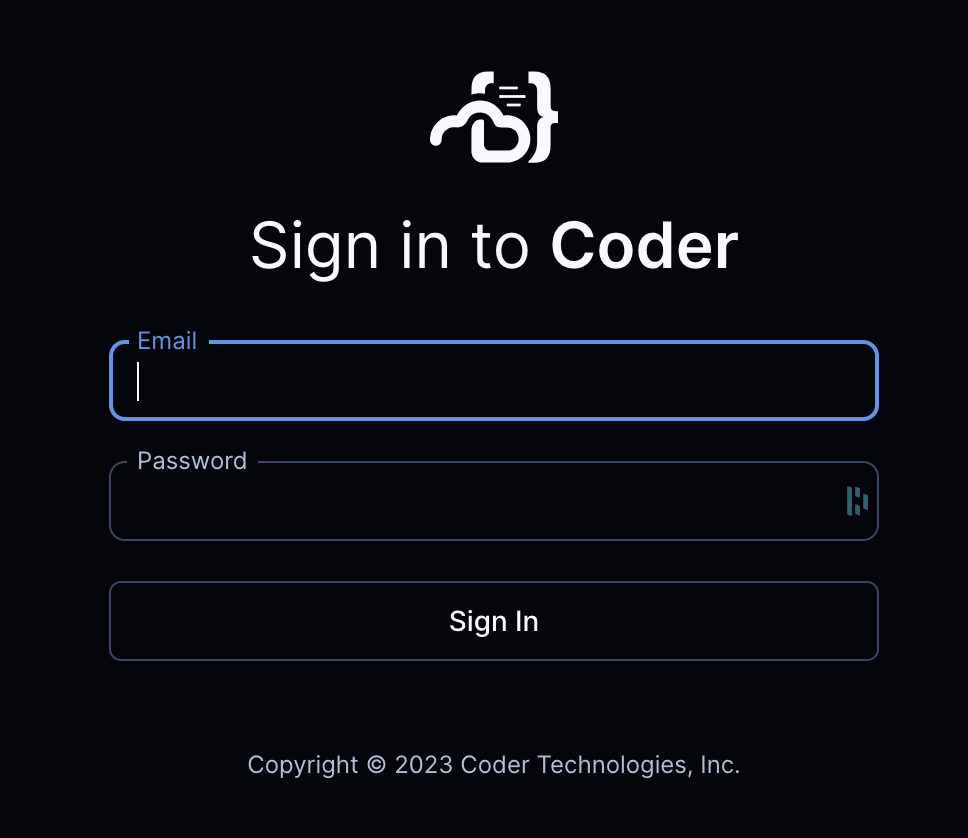
Start by visiting the URL provided by the course organizers. You'll need to sign in using your credentials.

After signing in, you will be directed to your Coder dashboard, where you can manage your workspaces.

Click on the workspace with the name data to access its details, including name, description, and status.

On the workspace details page, you will see a top bar with several buttons, including:
- VS Code Desktop: Opens a new tab in your browser and launches the VS Code desktop application, installing the Coder remote extension for desktop access.
- VS Code Web: Opens a new tab in your browser and launches the VS Code web application for browser-based access (recommended).
- Terminal: Opens a new tab in your browser and launches a terminal application for browser-based access.

Click the VS Code Web button to access the VS Code web application. The first time you access your workspace, you may be asked to trust the authors of the files in the folder.

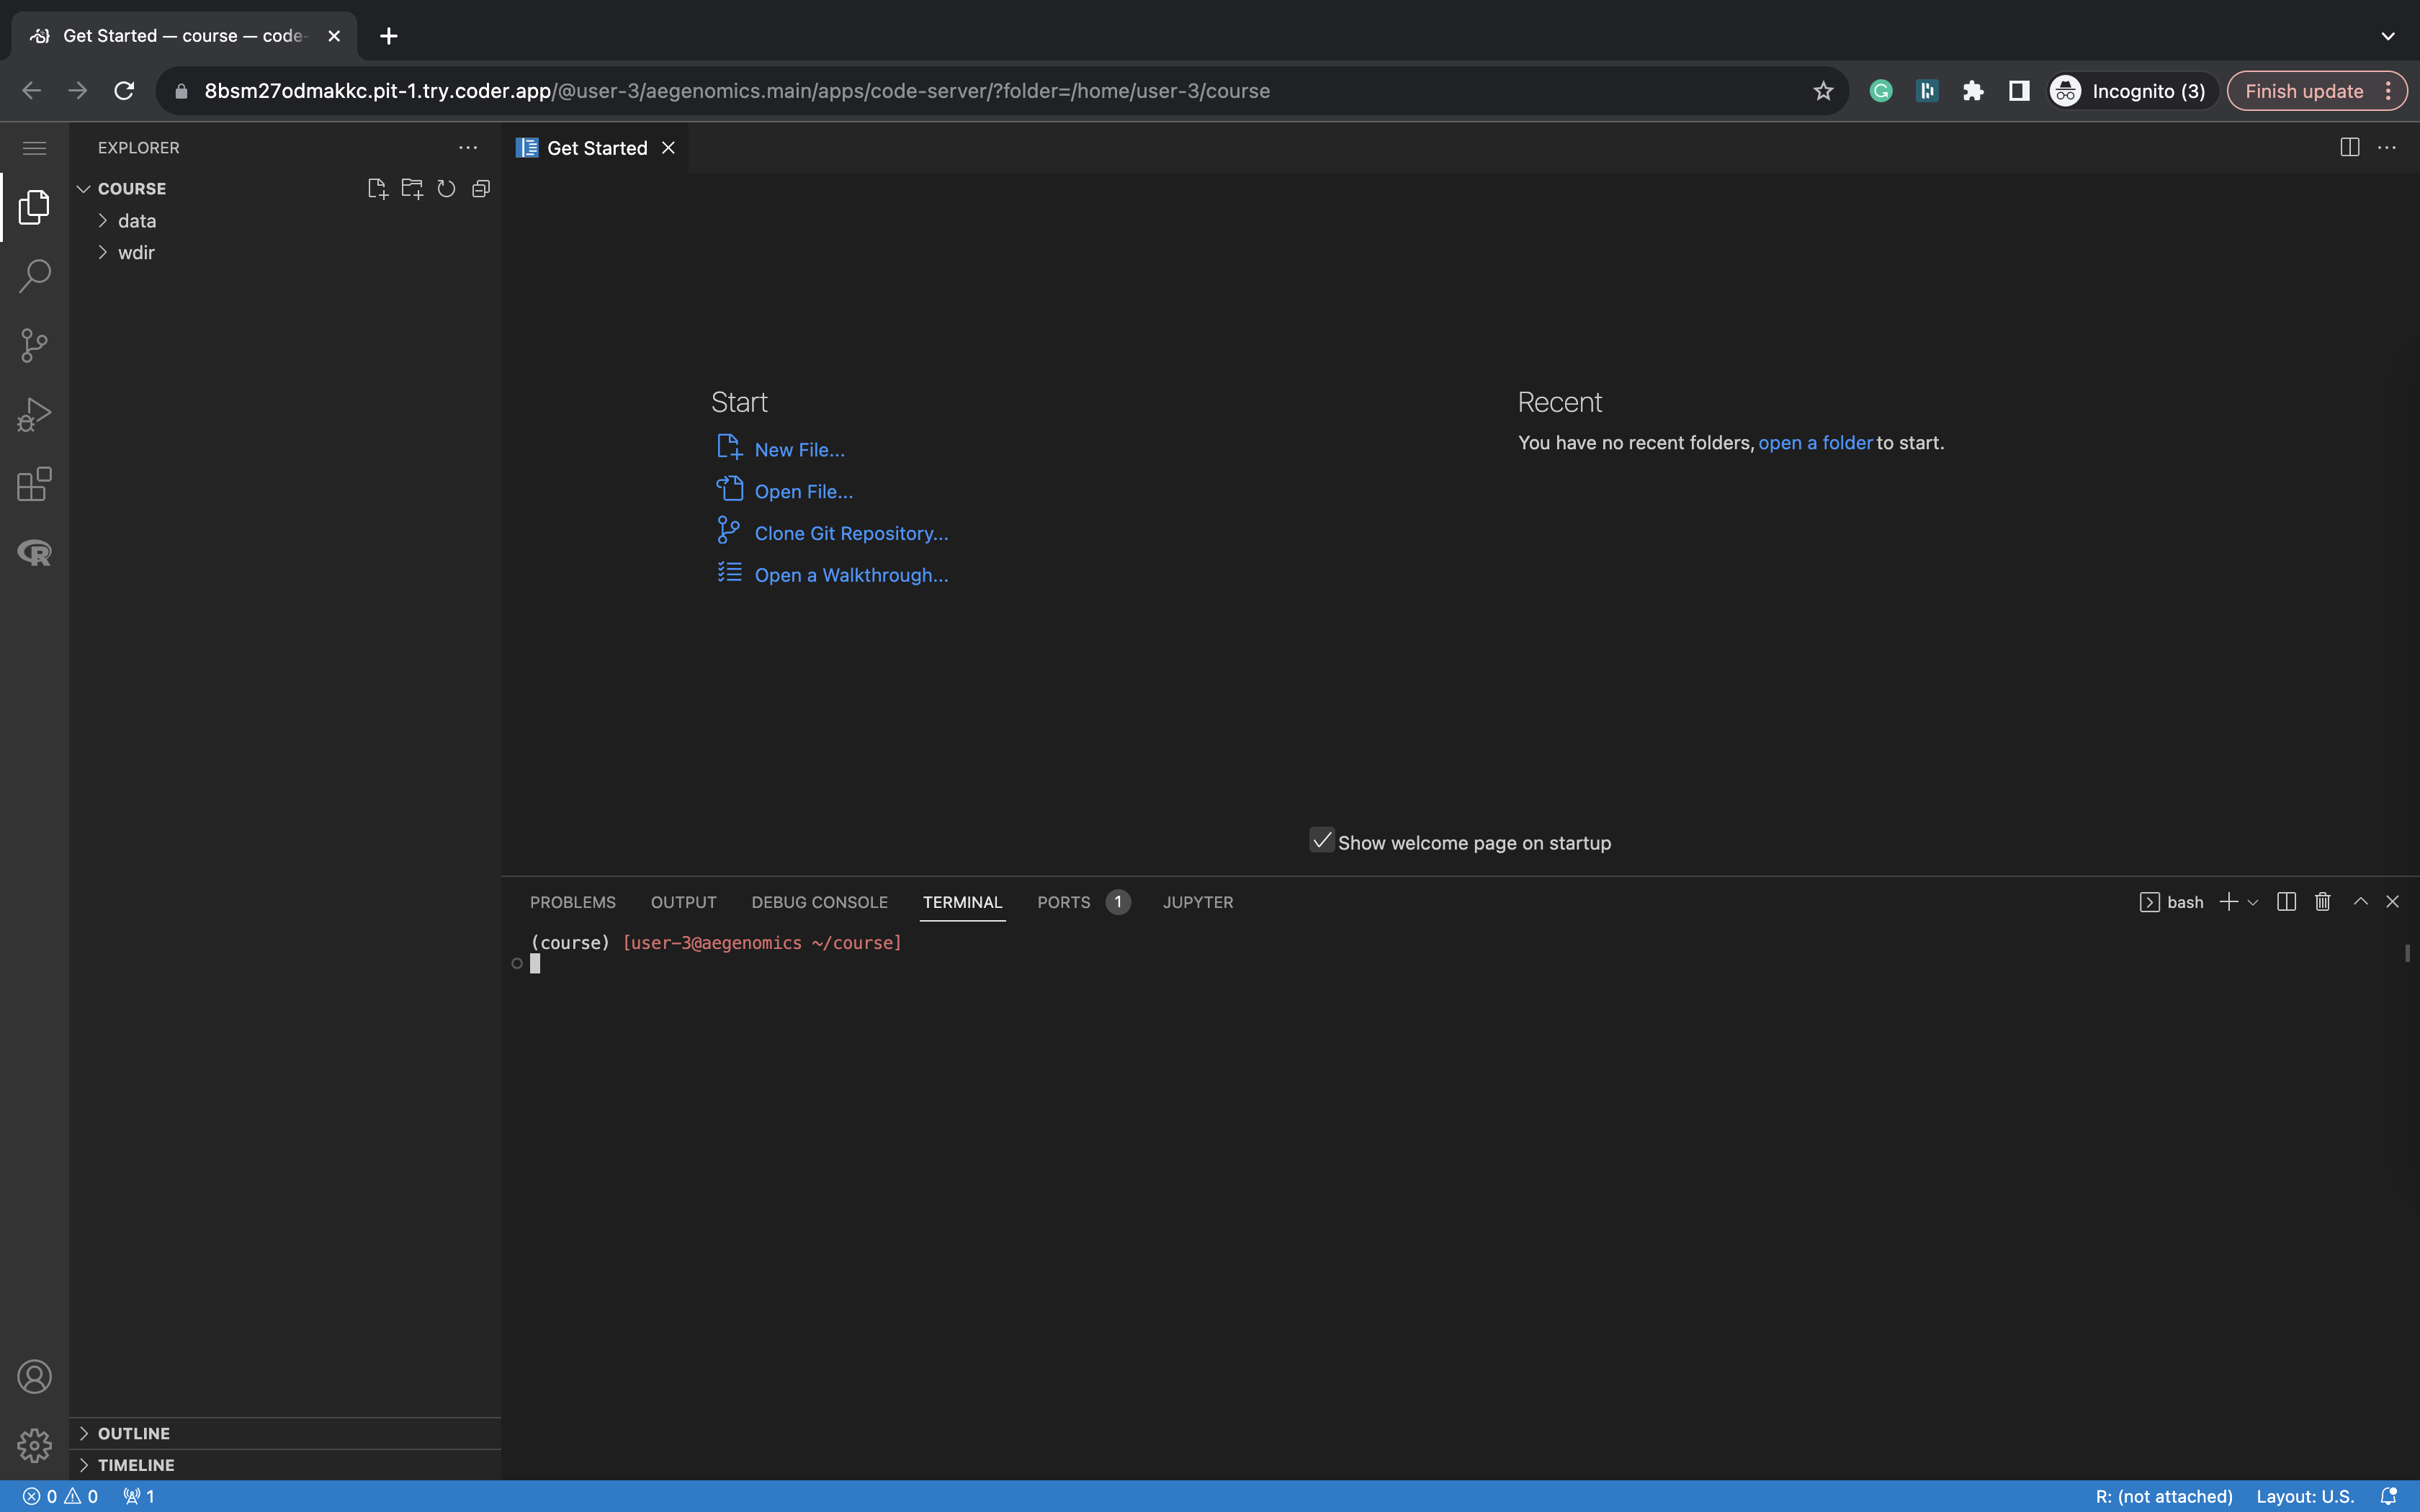
After clicking Yes, I trust the authors, you will enter the VS Code web application. Explore the welcome page, configure the appearance of the application, or follow a tutorial. You can skip this step by closing the welcome page.

To open a terminal, click on the bottom-left buttons:


and then click on the TERMINAL tab:

Use the buttons on the right side to split, open, or close new terminals.

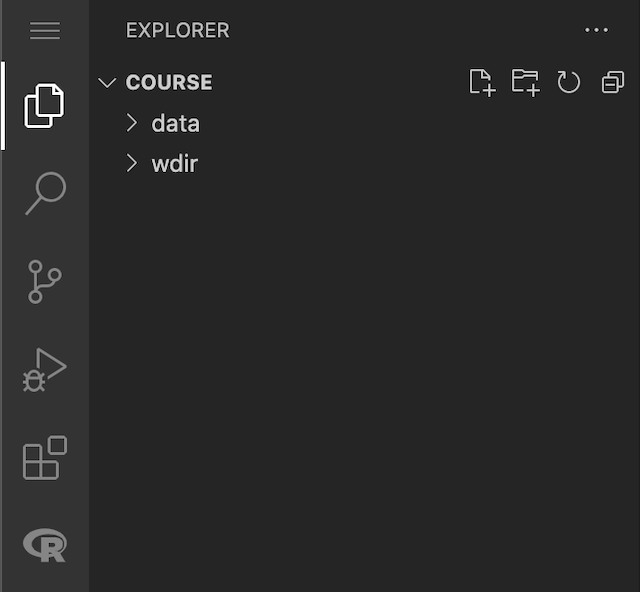
On the left panel, you can access the file explorer, search, git, extensions, and other tools.

To open the command palette, press Ctrl+Shift+P or Cmd+Shift+P. This tool allows you to access all available commands, extensions, settings, and more.

Some extensions required for the course are pre-installed. You can check the installed extensions by clicking on the Extensions button on the left panel. If you want to install additional extensions, click on the Extensions button and search for the desired extension. Click Install to add it.
The R extension is pre-installed, making VS Code behave like RStudio. In a terminal, enter the following command to open an R session:
conda activate r
radian
This opens an R session attached to the terminal.

To create a new R file, click the File button in the top-left corner and select New File. Save the file as test.R. You can run the code by pressing Ctrl+Enter or Cmd+Enter, just like in RStudio.

This guide should help you get started with your Coder workspace for the course.
During the course we will use two main folders:
- ~/course/data: This folder is read-only and contains all the necessary data for the course.
- ~/course/wdir: This folder is writable and would be the directory that you should use during the course as the contents are permanent across sessions.
All the programs and packages that we will use during the course are installed in conda environments. By default, the r environments is activated. You can activate the environments by running the following command in the terminal:
conda activate day1To deactivate the environment, run:
conda deactivate- Day 0
- Day 1
- Setting up the environment
- Task 1: Writing a simple BASH script
- Task 2: Writing a More Complex BASH script
- Day 2
- Resources