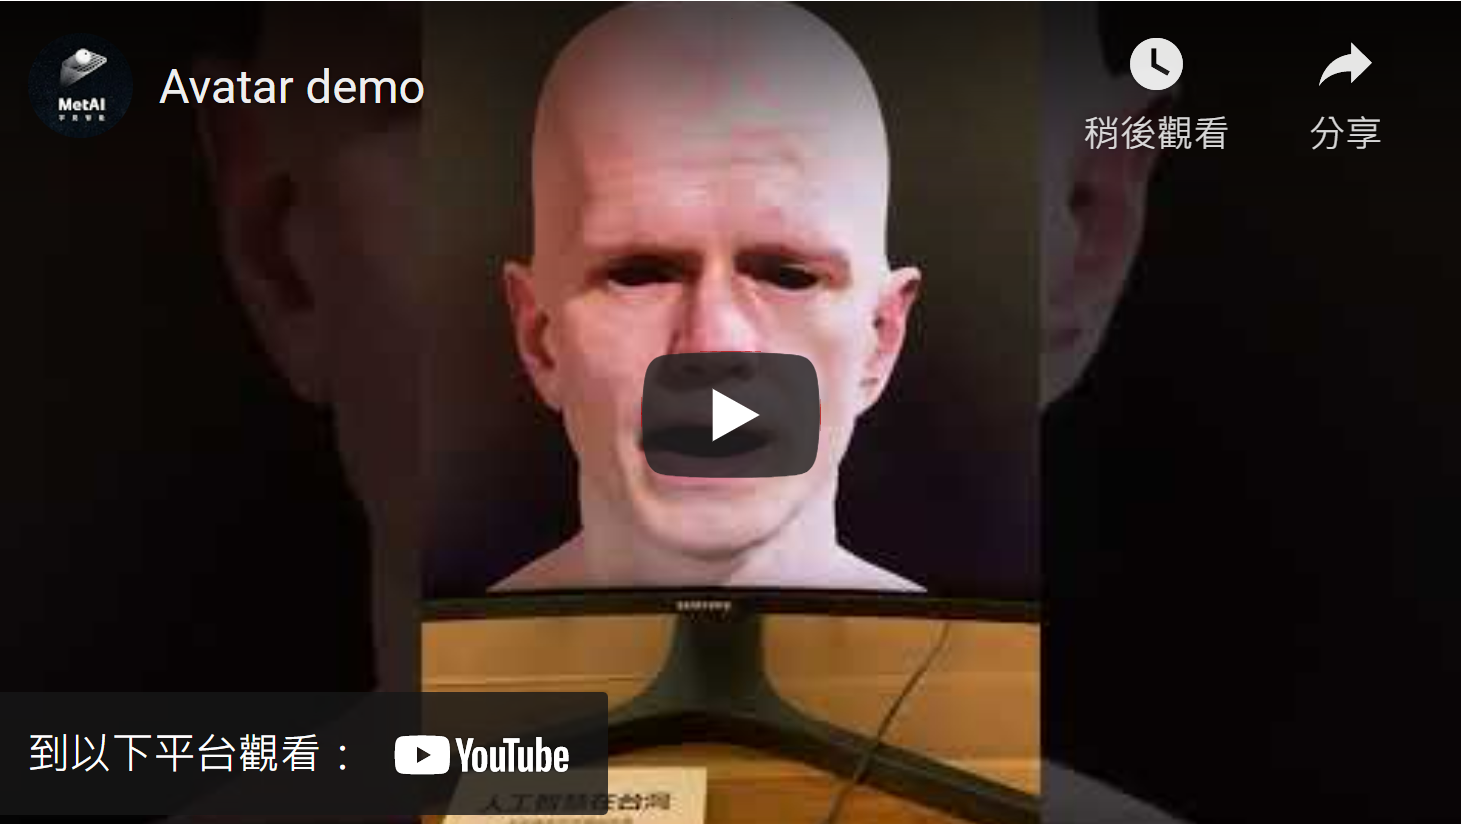
I'll show you how I used several Python packages and NVIDIA's Omniverse Audio2Face to quickly implement an avatar that can answer questions defined in a knowledge set or FAQ.
Upon receiving user's request, the SpeechRecognition API records the frequencies and sound waves from user's voice and translates them into text.
Sentence-Transformer is for state-of-the-art sentence, text and image embeddings that can encode input questions into feature vectors. The feature vectors represent entire sentences and their semantic information, this helps the machine in understanding the context, intention, and other nuances in the entire text.
We’ll conduct a similarity search, comparing a user input question to a list of FAQs and return the most likely answers by Facebook’s Similarity Search API.
The avatar's voice is fully synthesized by the Gtts API, which turns text into natural-sounding speech. The synthesized voice is also used to drive the avatar's facial animation.
Omniverse Audio2Face is an application brings our avatars to life. With Omniverse Audio2Face, anyone can now create realistic facial expressions and emotions to match any voice-over track. The technology feeds the audio input into a pre-trained Deep Neural Network, based on NVIDIA and the output of the network drives the facial animation of 3D characters in real-time.
| Element | Minimum Specifications |
|---|---|
| OS Supported | Windows 10 64-bit (Version 1909 and above) |
| CPU | Intel I7, AMD Ryzen 2.5GHz or greater |
| CPU Cores | 4 or higher |
| RAM | 16 GB or higher |
| Storage | 500 Gb SSD or higher |
| GPU | Any RTX GPU |
| VRAM | 6 GB or higher |
| Min. Video Driver Version | See latest drivers here |
Before you begin, you'll need to clone the repository with the template code used in this repo. Open your Terminal app and find a directory where you'd like to store the code. Run this command to clone the GitHub App template repository:
$ git clone https://github.com/metaiintw/build-an-avatar-with-ASR-TTS-Transformer-Omniverse-Audio2Face.git
Make sure Anaconda is installed on your local machine. Use the following command to install packages included in requirements.yml:
$ conda env create -f /path/to/requirements.yml
NVIDIA Omniverse is a development platform for 3D simulation and design collaboration, it is free for individual, you can download Omniverse Launcher here.
I also recommend you to watch this video tutorial, which guides you through the installation process.
 |
|---|
| Omniverse Launcher |
 |
|---|
| Omniverse apps |
Once you got Omniverse Launcher installed, you can immediate access to all the apps, including Omniverse Audio2Face. Next, simply install Omniverse Audio2Face and you're good to go.
 |
|---|
| Omniverse Audio2Face |
To get our Python program interacts with Omniverse Audio2Face, you should use streaming audio player that allows developers to stream audio data from an external source or applications via the gRPC protocol.
 |
|---|
| streaming audio player allows developers to stream audio data from an external source |
This tutorial showcases how to create an audio player and connect it to the audio2face instance using the omnigraph editor.
Now we're ready to bring our avatar to life, simply enter the following commands into your terminal.
$ cd path_to_the_project_folder
$ conda activate avatar
$ jupyter lab
Execute the .ipynb notebook file named 1.Creating_a_simple_avatar.ipynb, start building your first avatar!
 |
|---|
| 1.Creating_a_simple_avatar.ipynb |
Renton Hsu


