Dart Reidar
Reidar started as an idea to build a better rig for playing darts, after some of the walls around the current dart boards were getting a bit damaged.
During a Shipit Inspired Day at Sportradar the intial pitch was created:
We're planning to build a darts stand. The main idea is to be able to use this stand to hold local office tournaments and playoffs (instead of going to a local pub or the small space in the office). We will need to decide on the design and get a budget approved. Once that is done we'll need to go and buy required materials.
We had also found a couple of existing projects which we used as inspiration to get started, and figure out the basic structure of the build
Starting out we didn't know how much we would be able to accomplish in the alloted 24 hours, so we started quite conservative with the must have features:
- Must have sufficient space for missing around the board
- Oche should be built up, to provide a easy permanent throwing line
- Should be portable, as we want to be able to "easily" move it to different locations
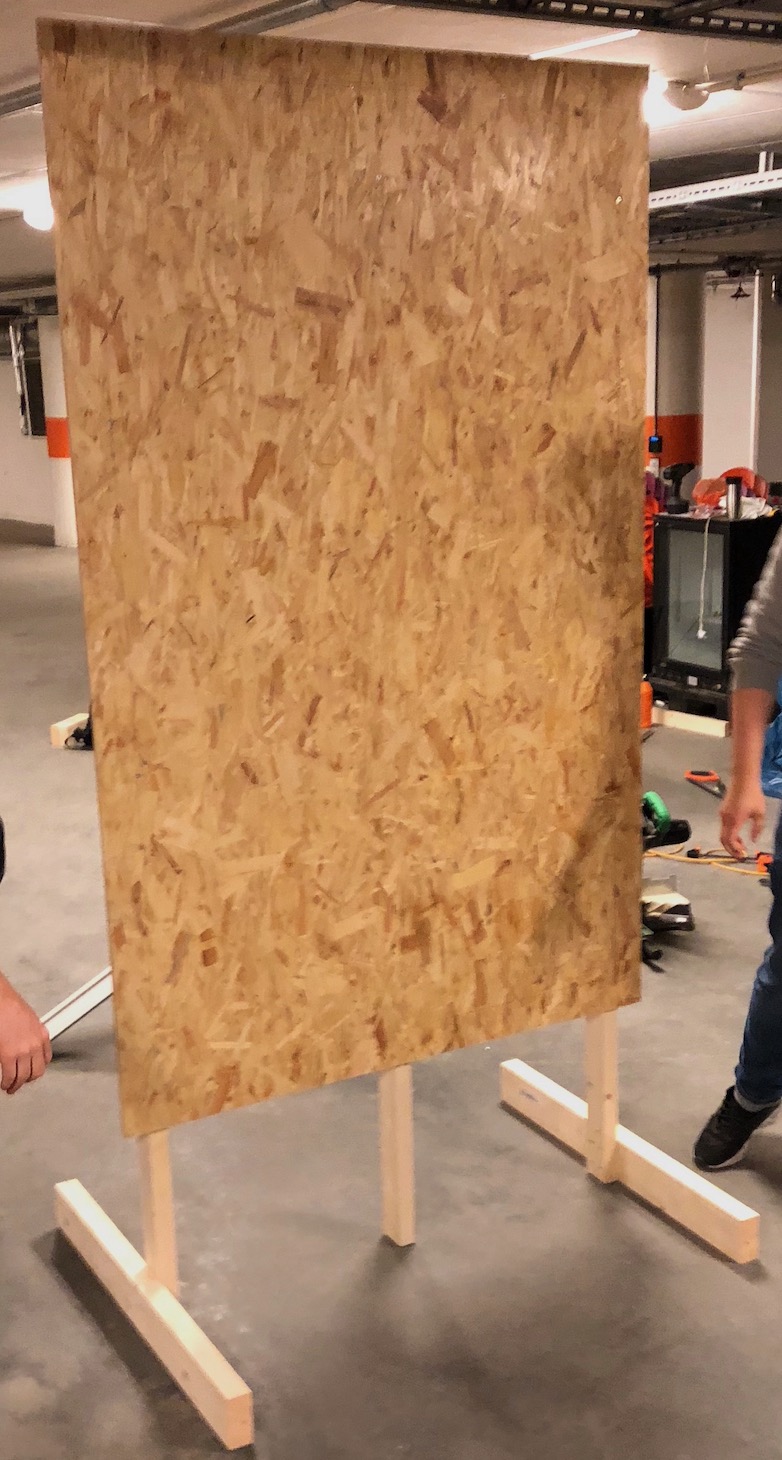
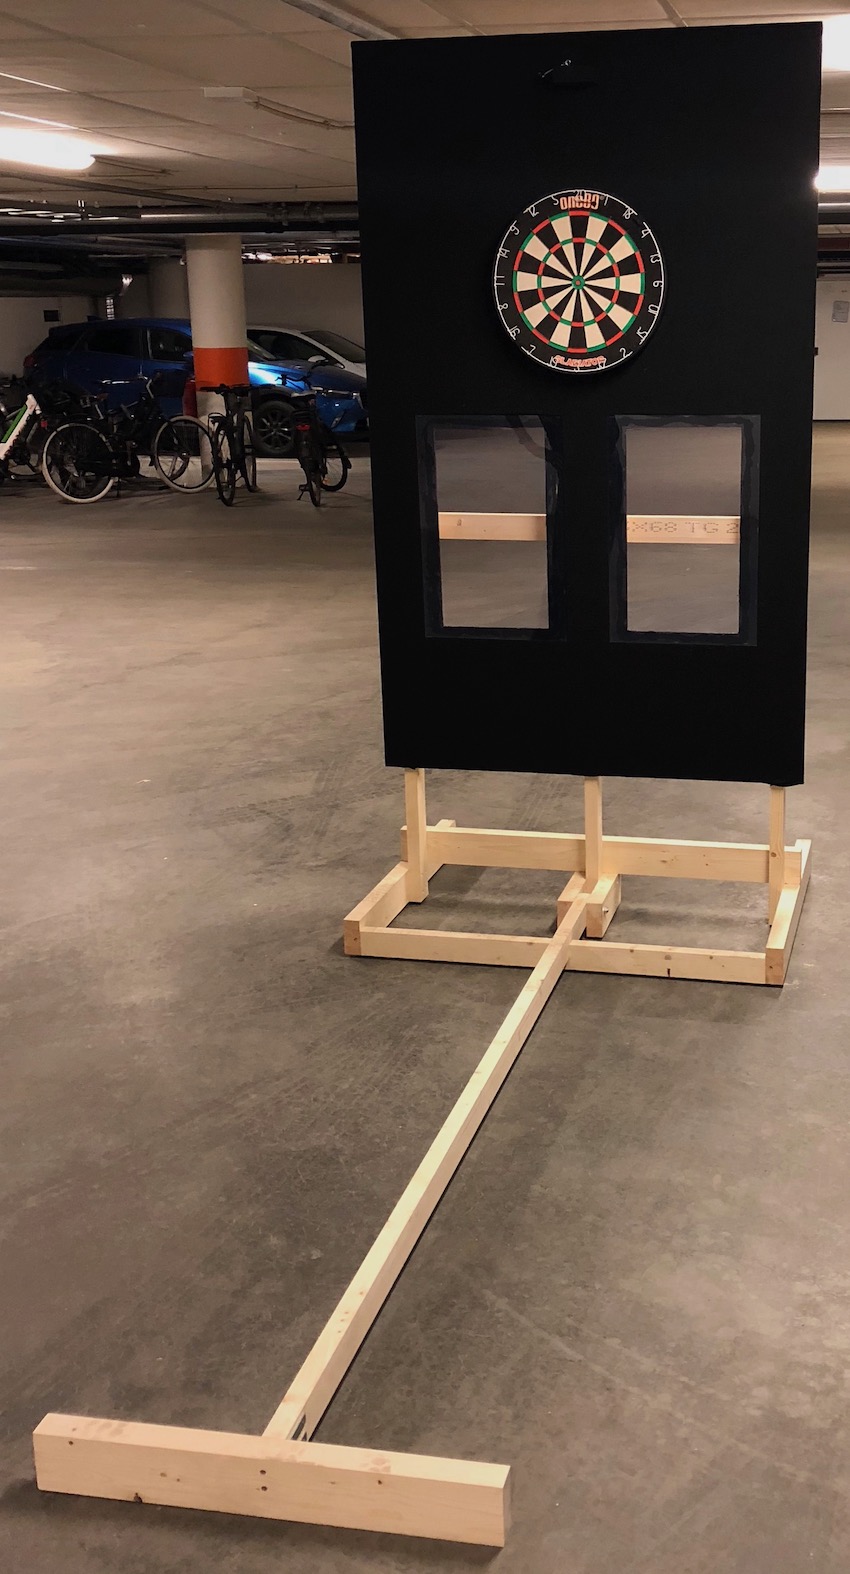
Getting the intial build together was quite fast, and in a few hours we had created the initial structure
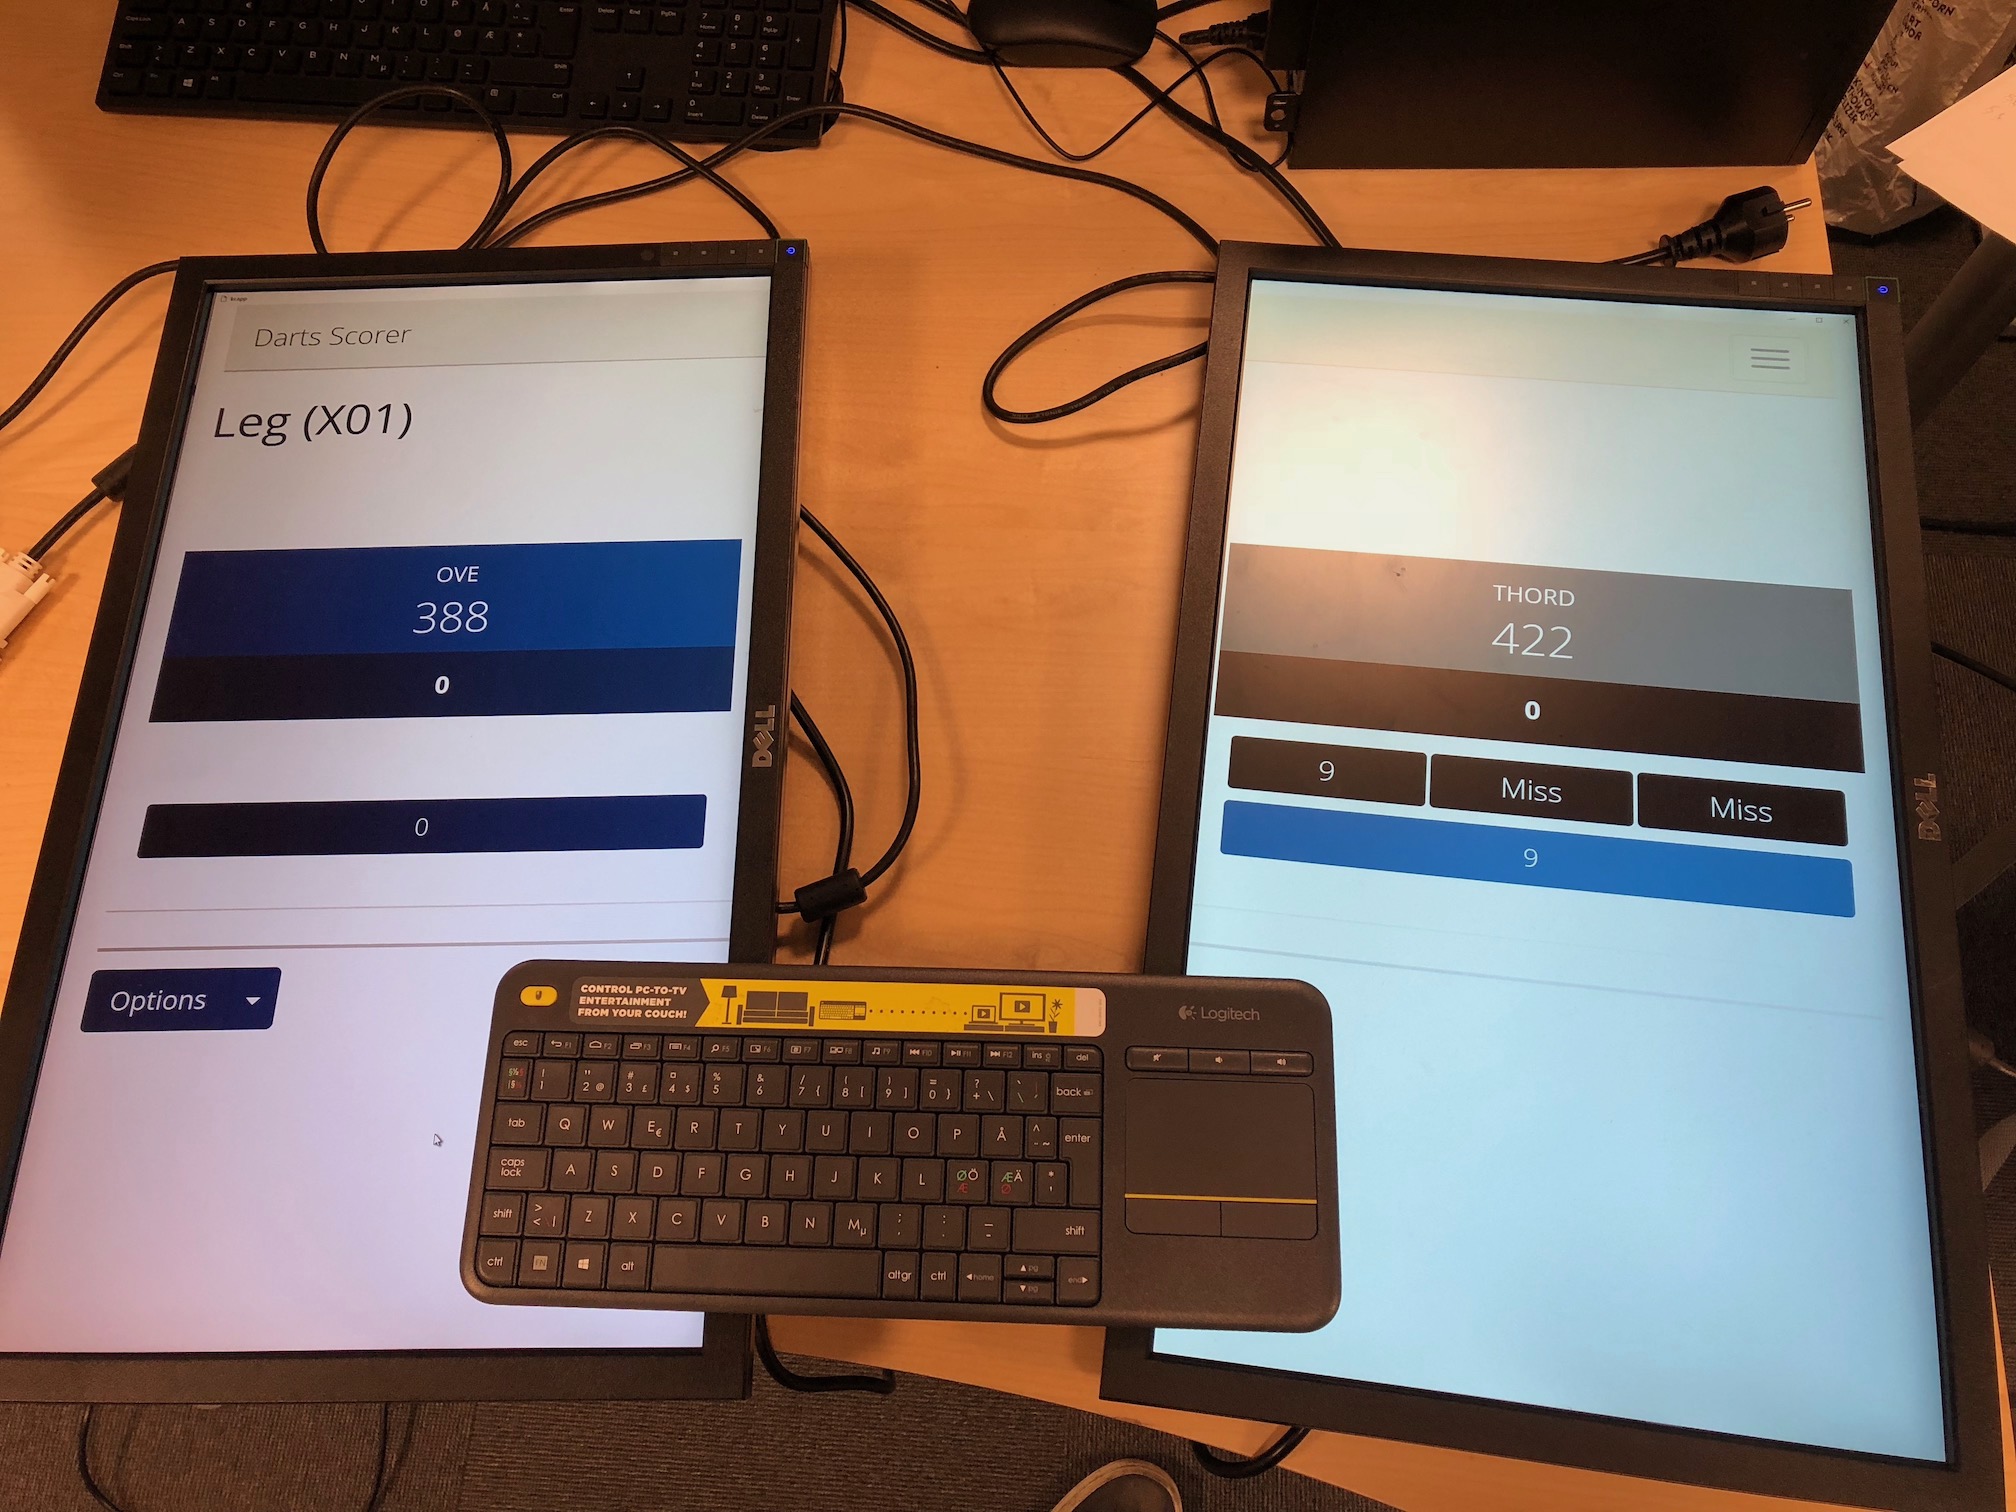
At this point we figured we would have sufficient space and time to add in two monitors to the build, which would be perfect for running kcappand playing games. kcapp had not been tested on dual monitors, but by zooming in it splits perfectly for an even number of players (improved support for odd number of players was added later)
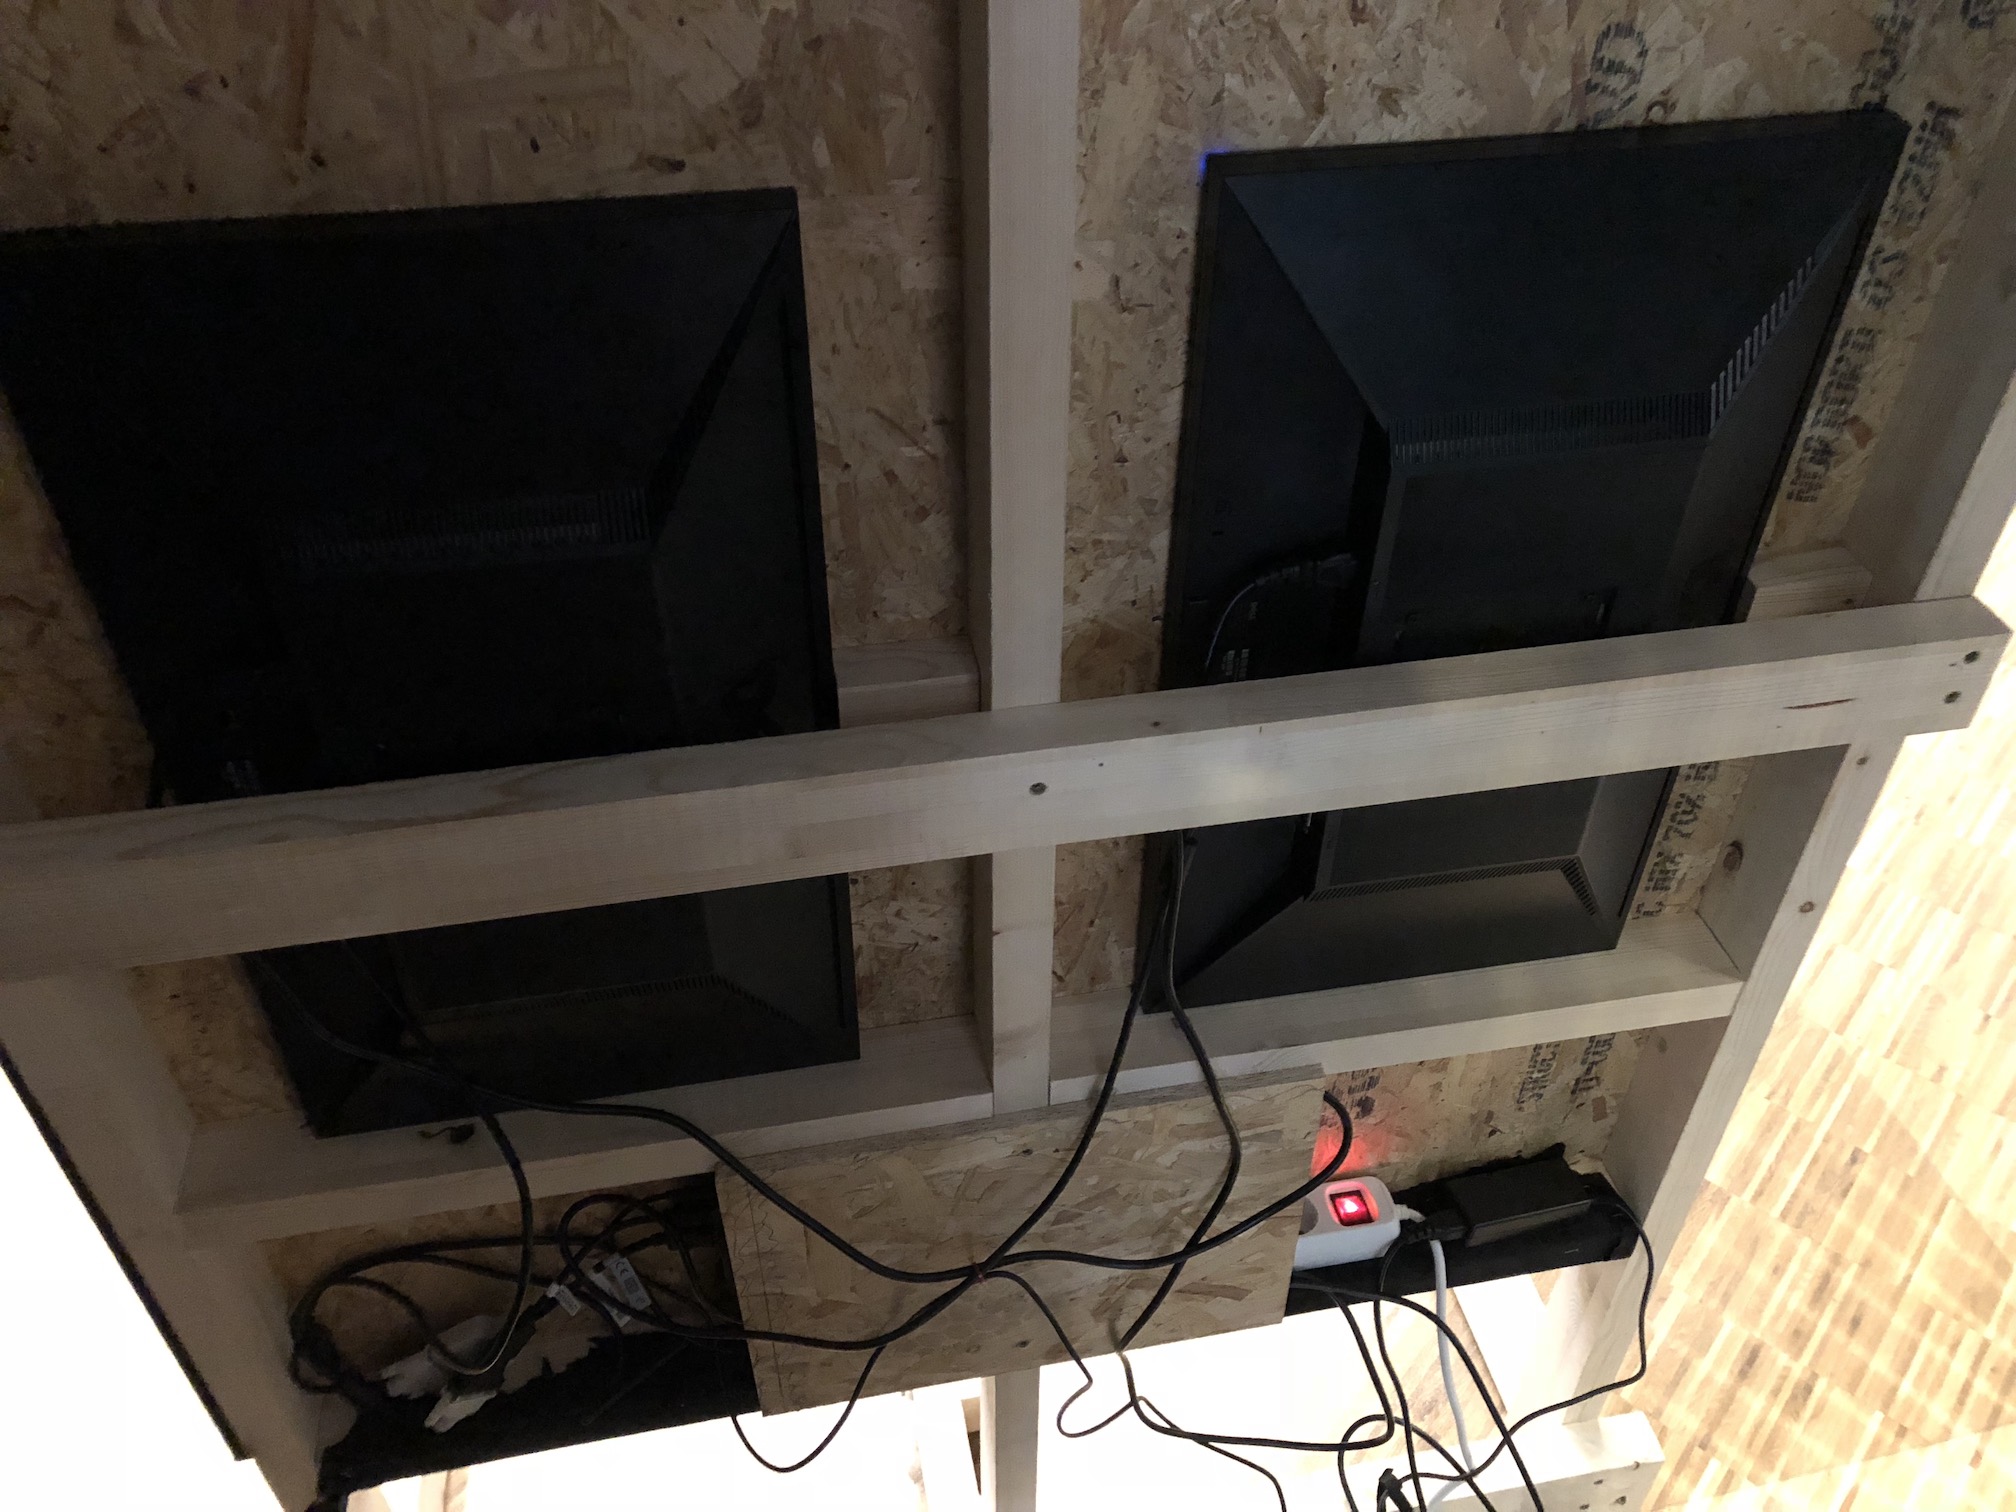
Two holes were cut to fit 24-inch monitors below the board, and a horizontal support was added in the back for the monitors to sit on, as well as hold them in place.

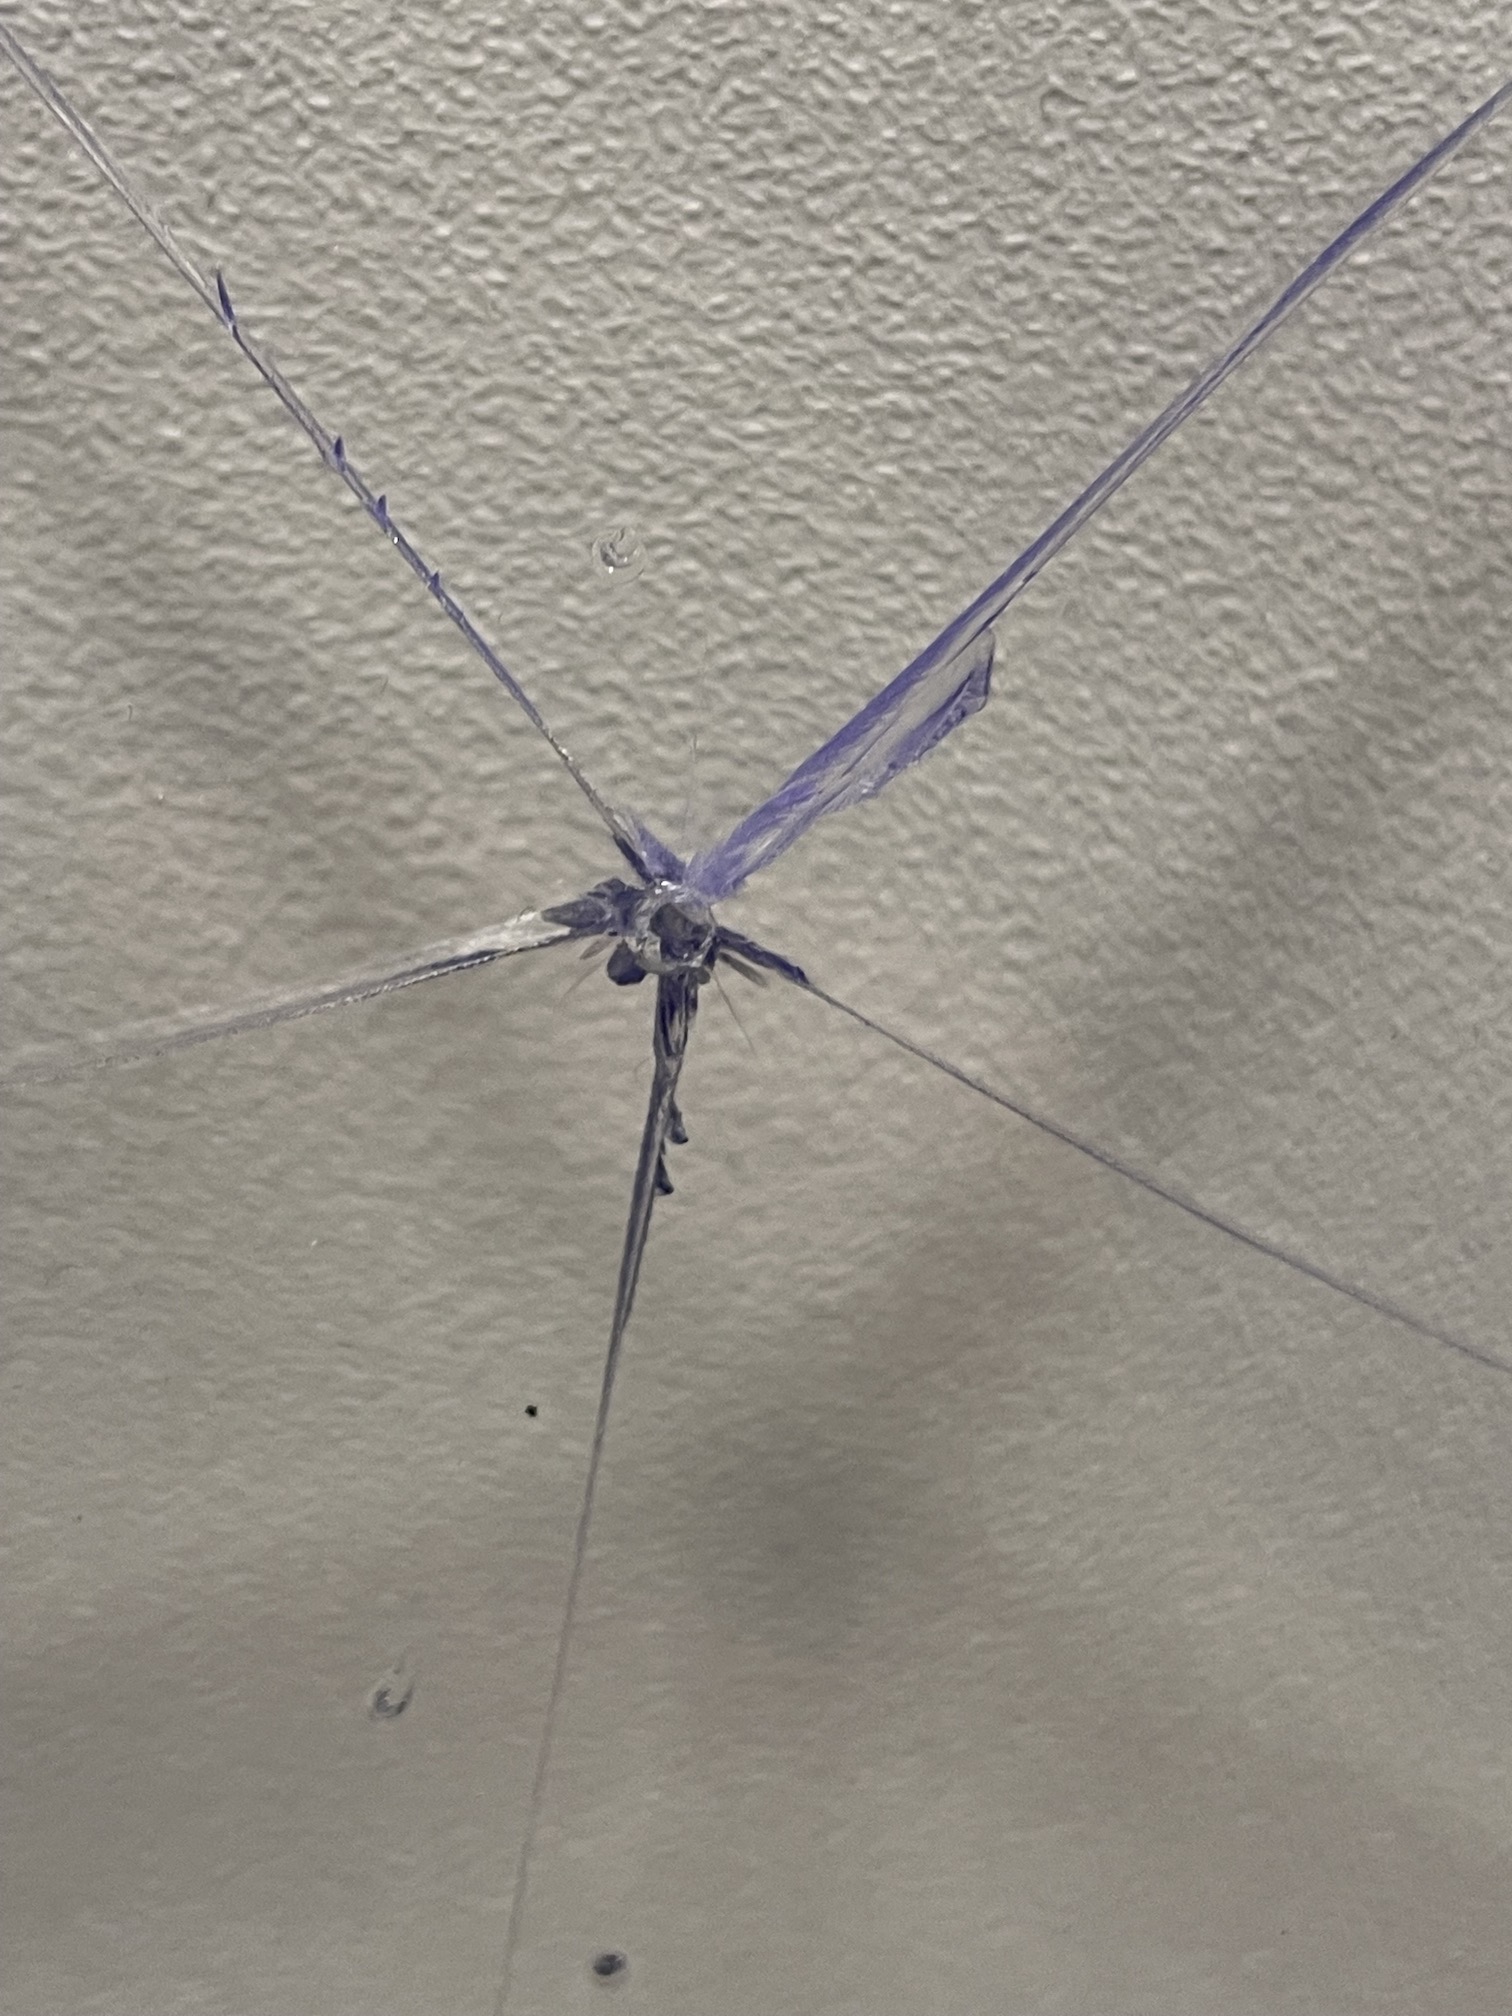
Since we knew that players of all skill levels would be playing on this setup, we went out and bought two pieces of 4mm thick Acrylic glass to put in front of each of the monitors. In hindsight this was a very good decision, as 3 years later we had to replace both of the acrylic glass protectors with new ones. Although during "normal" play the risk for creating such damage is basically non-existent, some people get creative in their throwing... A bad decision was that we glued them in place, so when we replaced them we also switched to screws so replacing them in the future will be even easier.

To add some color we covered the upper part of the stand with a black fabric, since we didn't want to deal with painting it. This also turned out to be a good decision, since darts hitting painted wood leaves marks and chips the paint. The oche and bottom part was later painted, and it has been repainted multiple times to cover that up. While the fabric and upper part still look as good as new.
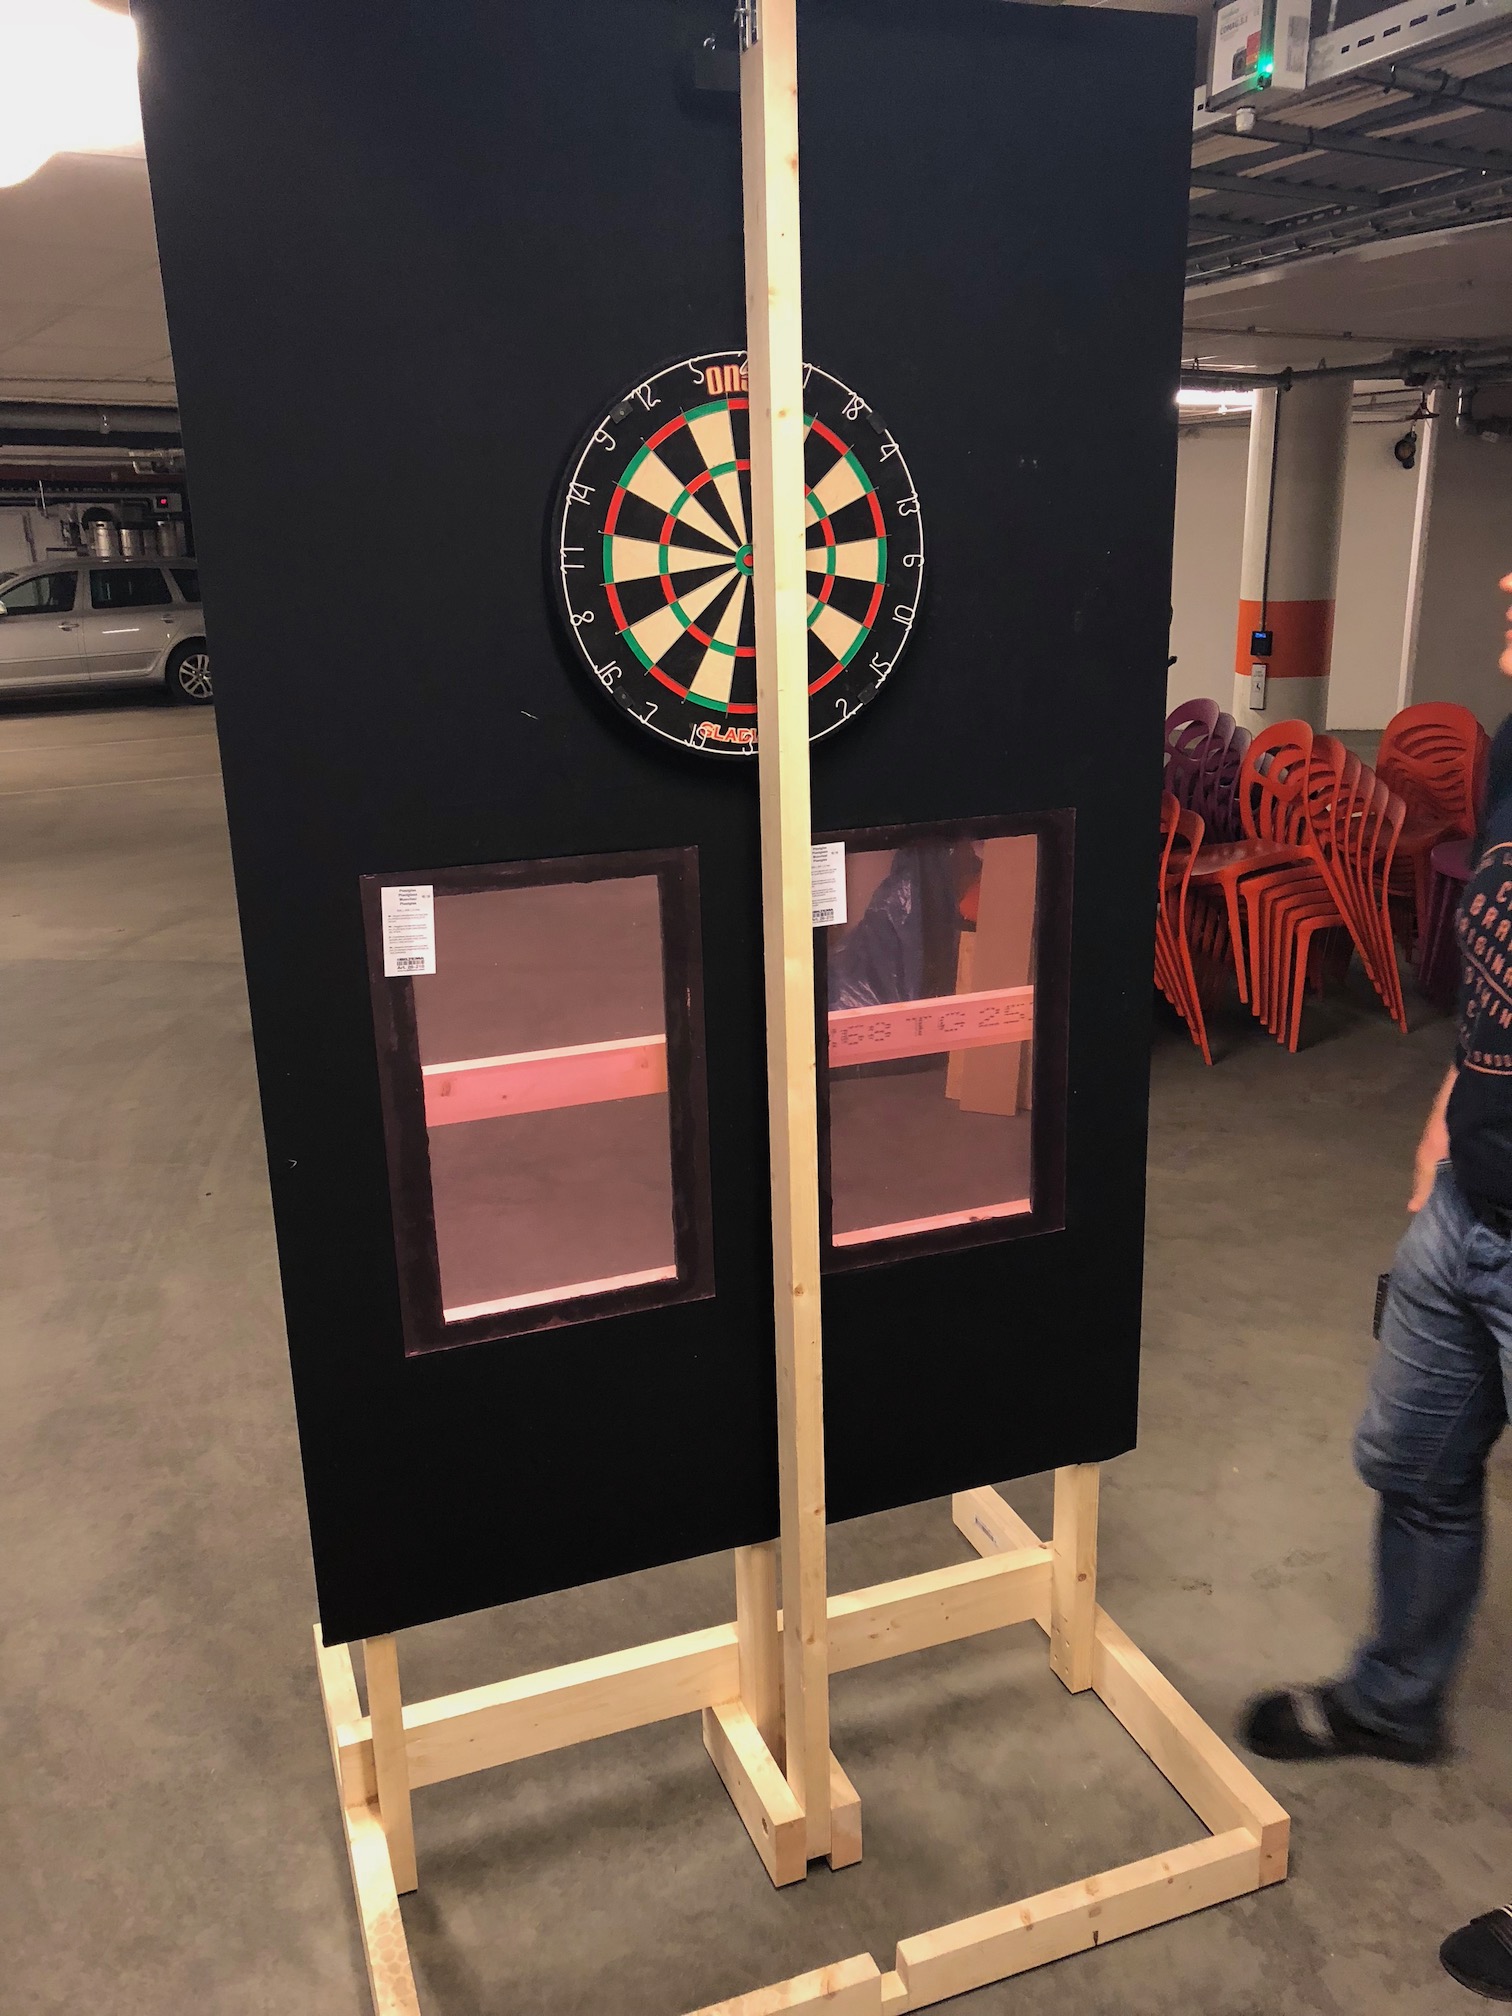
After 24 hours the build was pretty much done, and all the initial goals we set out to meet were completed. With the "portable" part being solved by adding some small wheels on the back of it, but it required 2+ people to move.
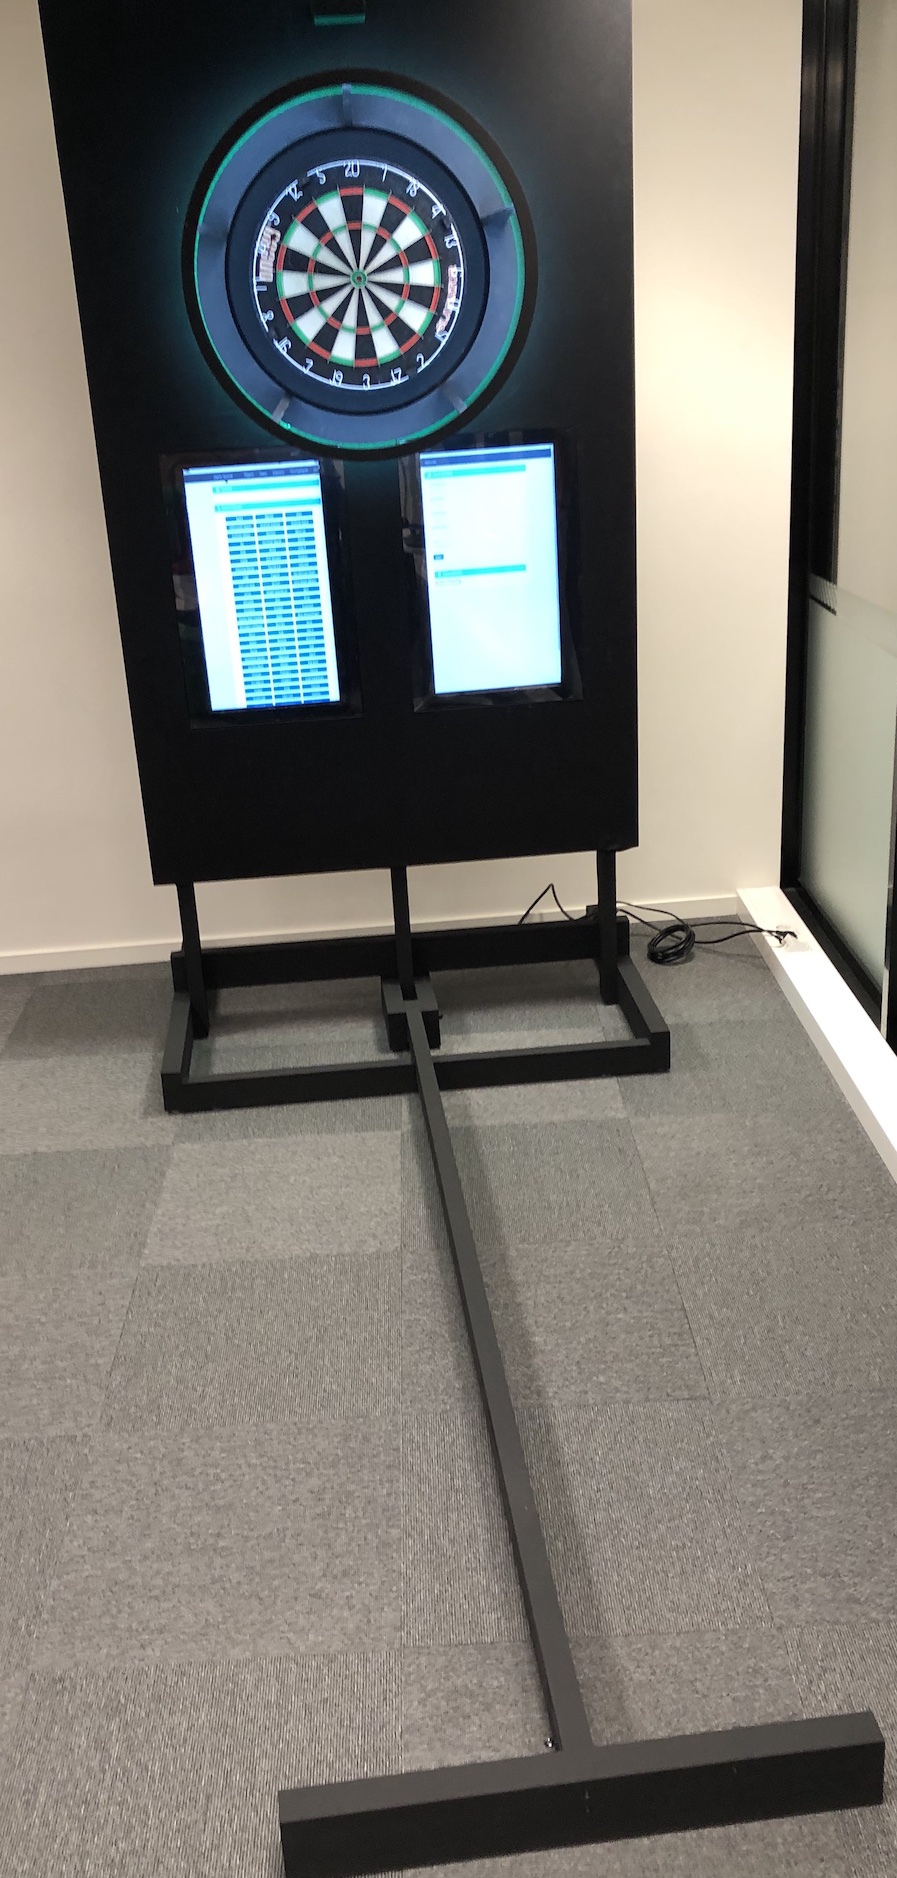
The final build after ~24 hours:

After using the setup for a while, we realized there was still a lot of potential to improve what we had created, and some time was spent to add new features.
A light ring was built and mounted around the board. It has bright white LEDs pointing onto the board, as well as a ring of colored LEDs. Two more colored LED strips were also added along the bottom, and under the oche towards the floor. To control it all a Raspberry Pi was added and kcapp-color-switcher library was created to switch the color based on what each player configured in kcapp, as well as blinking the lights on checkouts.
Freshly painted and all lights mounted


After playing a lot of matches, even more ideas came up for improvements and new features.
One thing we had discovered during tournament play, was that mounting a microphone behind the board to get a better "thump" when throwing added a lot of value. A Behringer Xenyx Q502USB sound mixer was purchased, together with a Shure SM57 microphone mounted on the back. This also gave us an aux input for music, and better options for mixing sound.
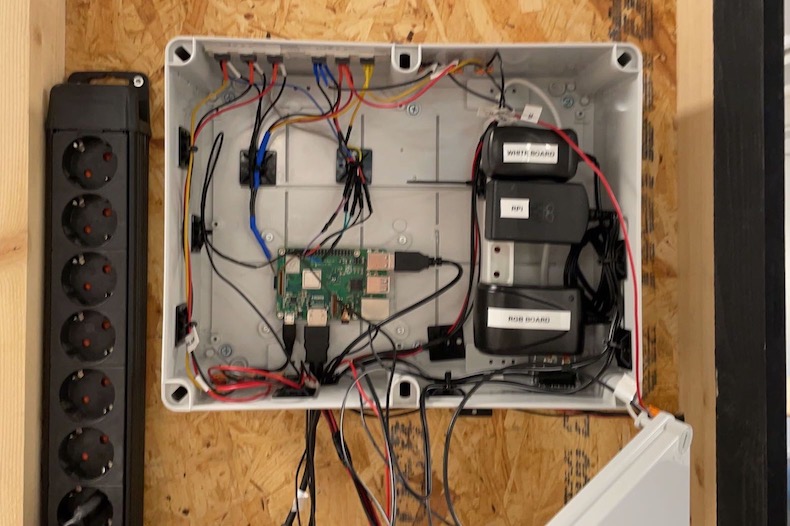
We also needed to re-wire the LED lights, and in the process, a bigger box was mounted on the back to contain the Raspberry Pi, LED strip power bricks and the LED controllers.
- Dell OptiPlex 3040 Micro Computer
- 2x Dell G2410t 24" Monitors
- 1x connected via HDMi
- 1x connected via Display Port
-
4mmAcrylic glass - Raspberry Pi 3B+
-
12vWhite LED Lightstrip -
12vColored LED Lightstrip -
24vColored LED Lightstrip - 3x IRLZ34N
- 4x Generic Light switches
- Shure SM57
- Behringer Xenyx Q502USB
- Sony SRS-D9 2.1 Sound System
- Wireless Numeric Keypad
- Unicorn Smartboard
- Logitech K400 Plus Wireless Touch Keyboard
- ACR122U NFC Reader