- Boilerplate generation code ✅
- Integration of the Solidity compiler ✅
- Comprehensive Unit Testing ✅
- Contract deployment module ✅
- Local Blockchain Instance Manager ✅
- Wallet Manager ✅
- Asset transfer module ✅
- Blockchain explorer ✅
- Search VeTools on the VSCode Marketplace
- Launch VS Code Quick Open (Ctrl+P) and paste the following command:
ext install magnusekstrom.vetools
Similar to create-react-app for React, this feature offers a familiar playing ground for users familiar with Ethereum and EVM-based blockchains. This effectively creates a project structure to allow users to develop smart contracts, aid in the compilation and deployment of these contracts, and allow a seamless debugging experience.
To follow:
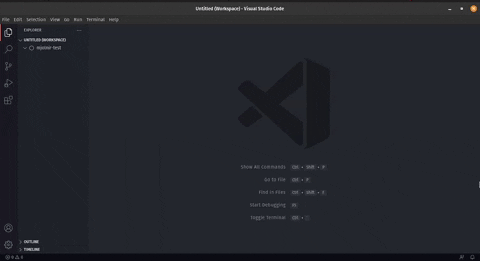
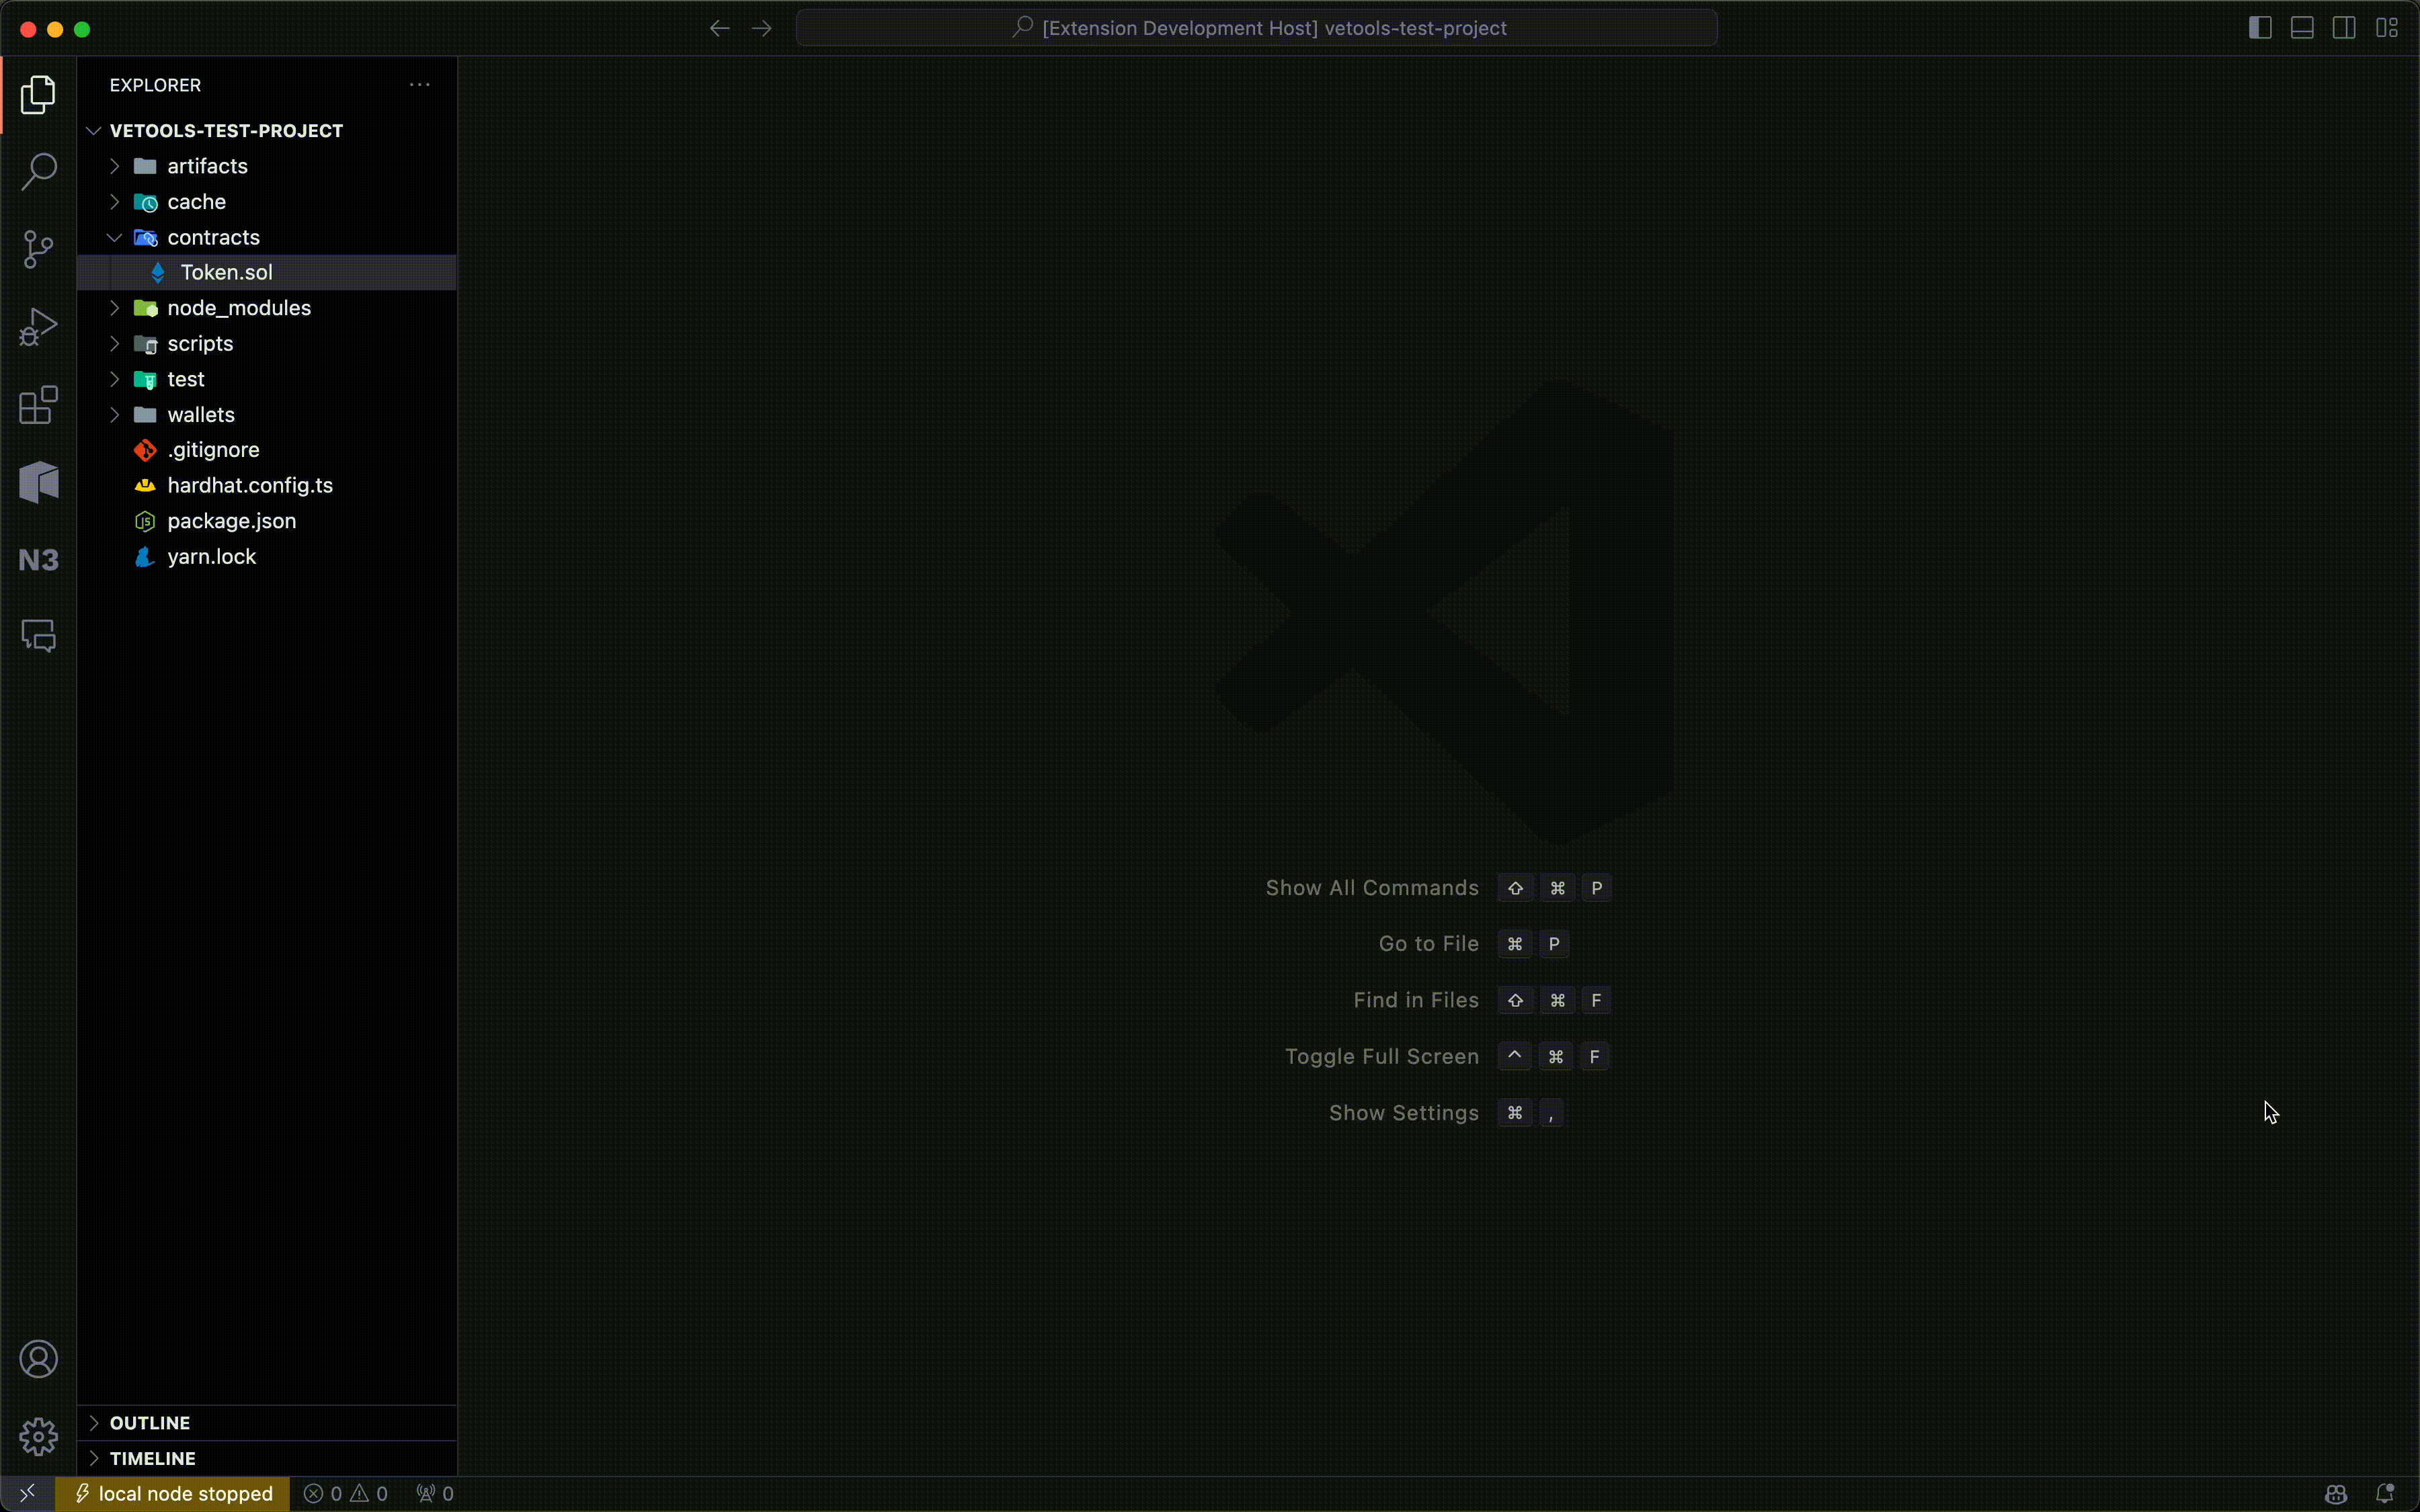
Ctrl/Cmd + Shift + Pto open VSCode's Command Palette- Type:
VeTools: New Project - Voila!
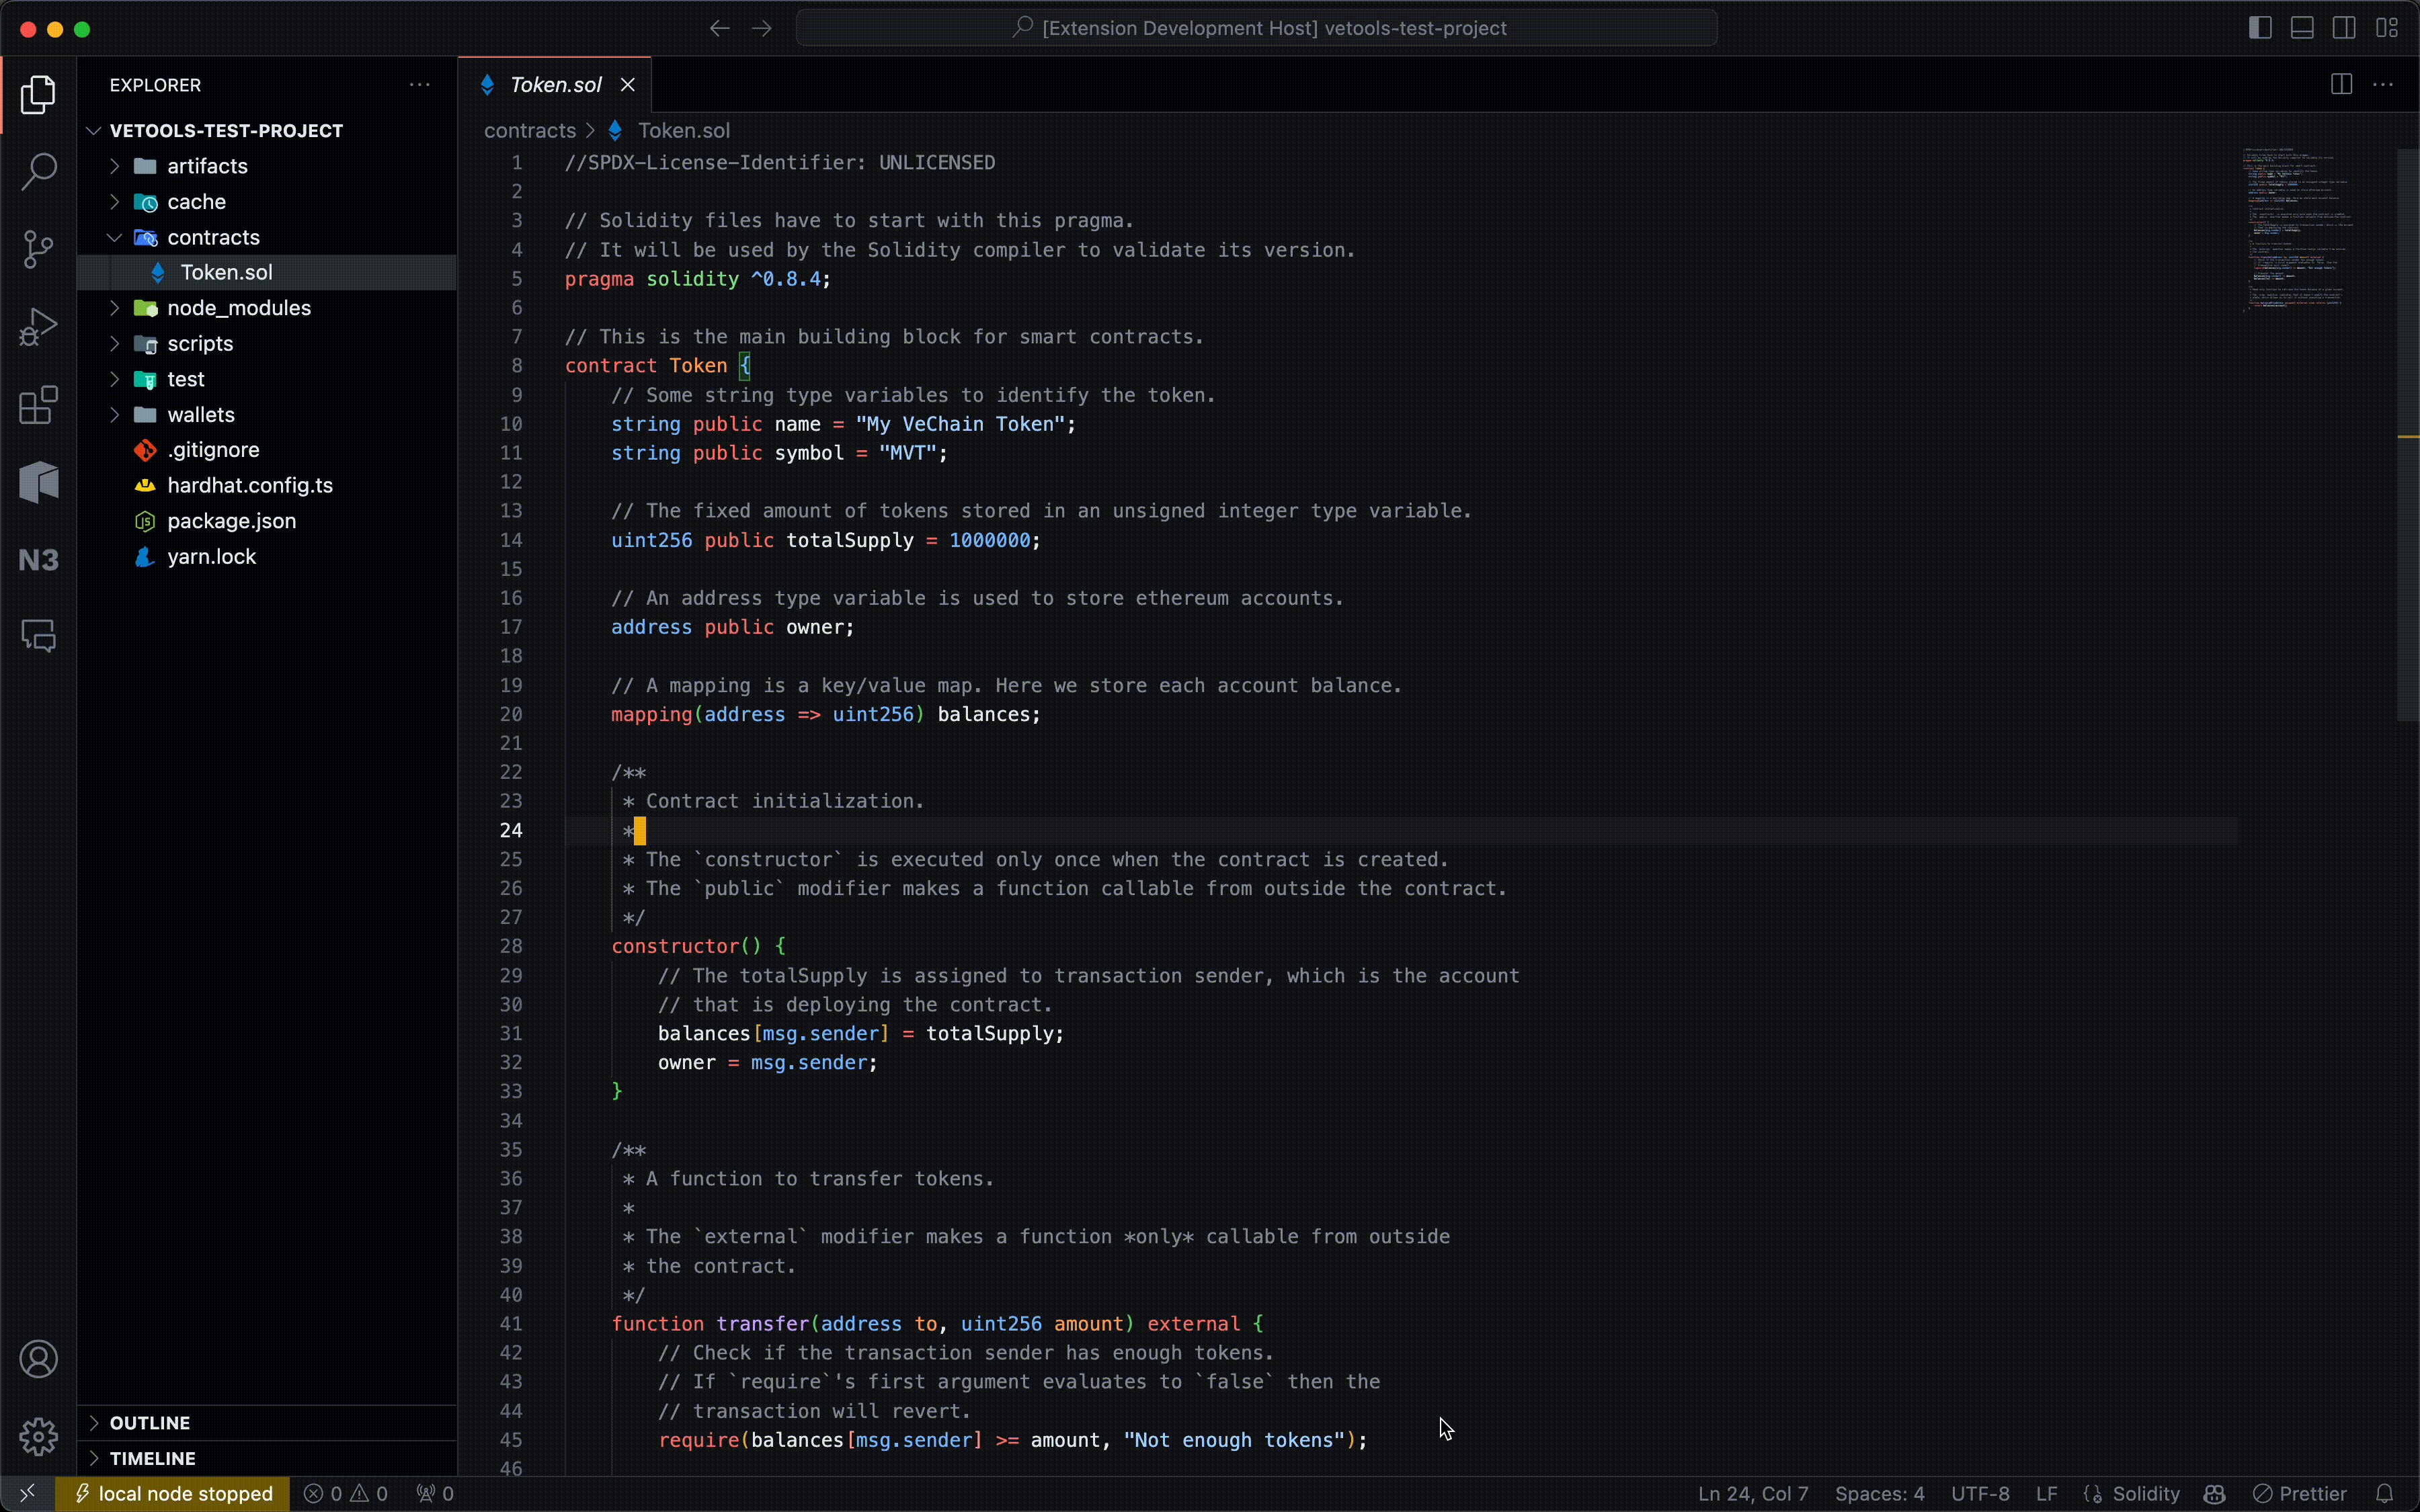
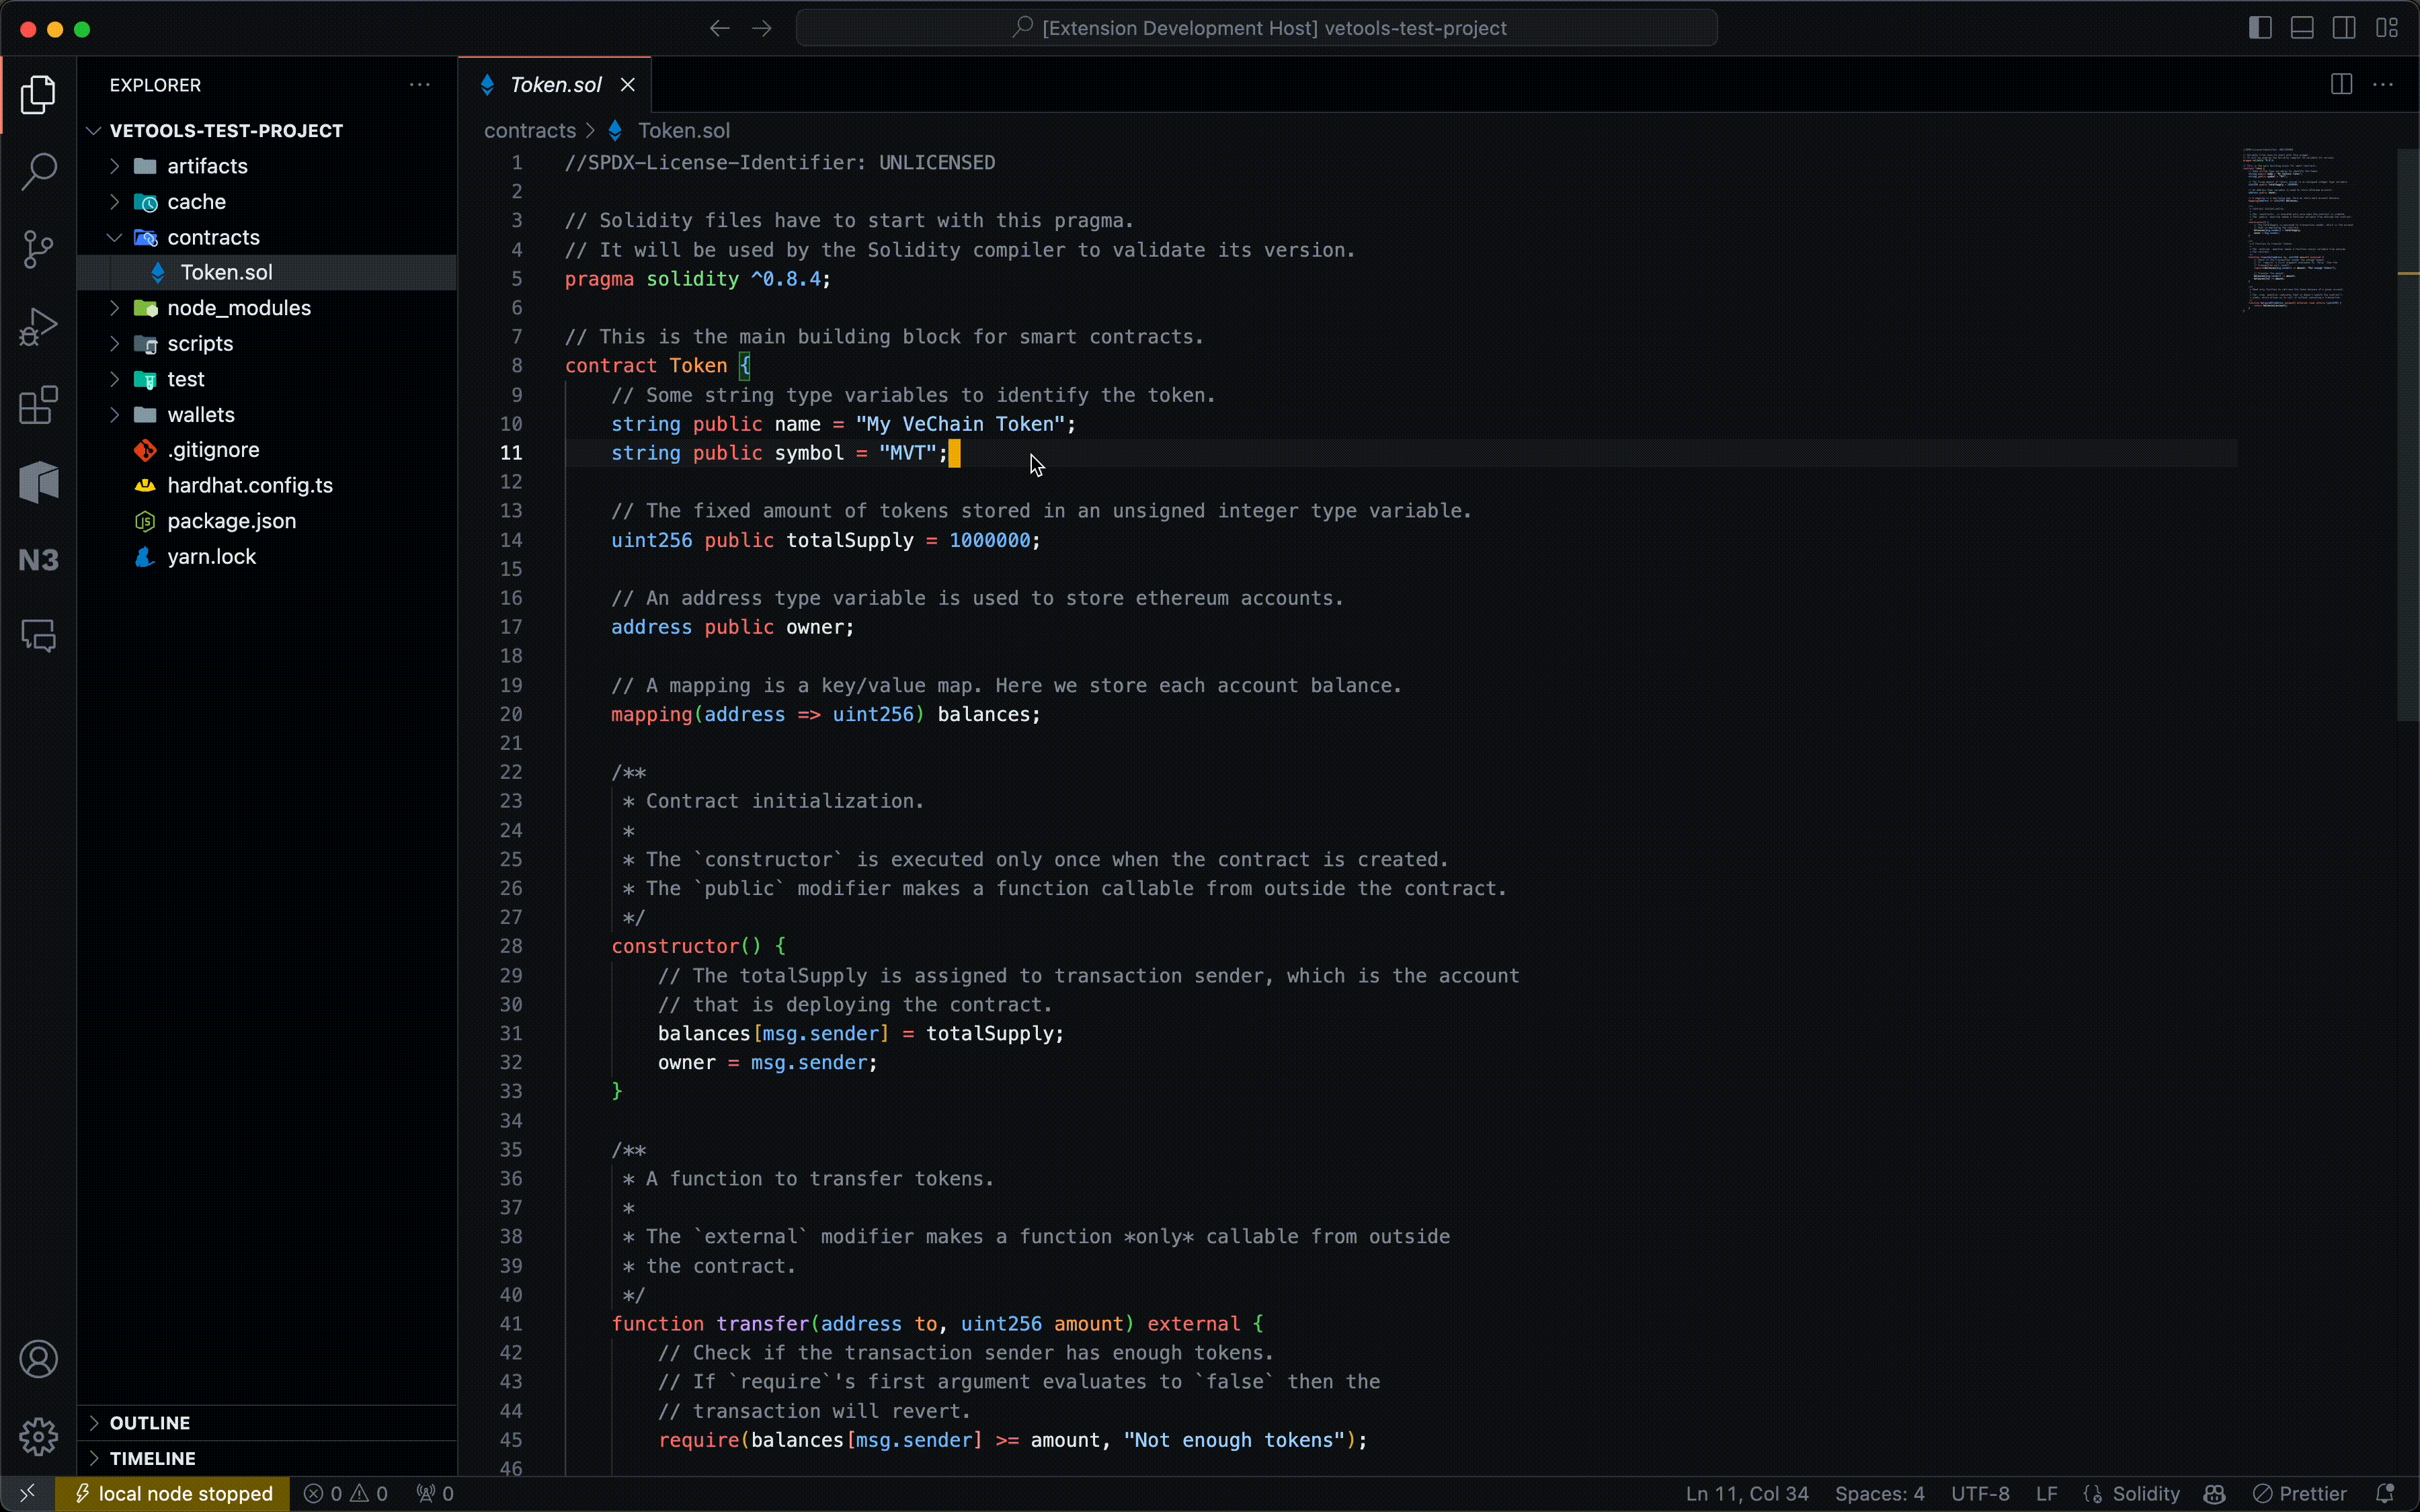
Following this directory structure, you can compile your smart contract(s) with ease.
To follow:
Ctrl/Cmd + Shift + Pto open VSCode's Command Palette- Type:
VeTools: Compile Contracts - Enter!
or,
simply right-click on a Solidity (.sol) file and click Compile Contracts.
Create a local, temporary wallet for you to use
To follow:
Ctrl/Cmd + Shift + Pto open VSCode's Command Palette- Type:
VeTools: Create Wallet - Enter a name & password for your wallet (the password encrypts your private key)
- Your encrypted wallet is stored within the
walletsfolder of your current directory
Manage local blockchain instances for testing!
To follow:
Ctrl/Cmd + Shift + Pto open VSCode's Command Palette- Type:
VeTools: Start Local Node(you can also click the orangelocal node stoppedtab on the bottom-left of your VSCode window) - A local blockchain node is spun up!
- To close: type
VeTools: Stop Local Node. You can also click thelocal node runningtab on the bottom-left of your VSCode window
Deploy your smart contract(s) with ease using the created wallets above
To follow:
Ctrl/Cmd + Shift + Pto open VSCode's Command Palette- Type:
VeTools: Deploy Contracts - Select a wallet you'd like to deploy the contract using
- You may be prompted to enter a password to decrypt the wallet
- Choose a network to deploy to
- That's it!
Pro tip: if you're deploying to a local node, we automatically fund your address with some ETH for you to be able to deploy the contract
You can very quickly transfer assets between your created wallets (requirement: you must have at least two created wallets prior to executing this operation).
To follow:
Ctrl/Cmd + Shift + Pto open VSCode's Command Palette- Type:
VeTools: Transfer Assets - Choose the network you'd like to execute the transfer operations on (this helps us query balances easily)
- Select the wallet you'd like to send assets from
- Select the wallet you'd like to send assets to
- Enter the amount of assets you'd like to send
- Enter the password of the from wallet to decrypt it
- Wait a while, and you'll get a confirmation when your assets are transferred. Ezpz
If that sounds like a lot, don't worry! It really isn't. Watch our quick video to help you out!