-
Notifications
You must be signed in to change notification settings - Fork 58
4 Software Setup
The software is implemented as a Cura plugin. To install the plugin just copy the PenColorizer.py file from the Software folder to ..\Ultimaker Cura x.x.x\plugins\PostProcessingPlugin\scripts.
Script location
If you had Cura running you need to restart it after copying the plugin. After starting/restarting Cura you need to activate the plugin. Go to Extensions->Post Processing->Modify G-Code, click on *add a script" and chose the PenColorizer script.
plugin settings
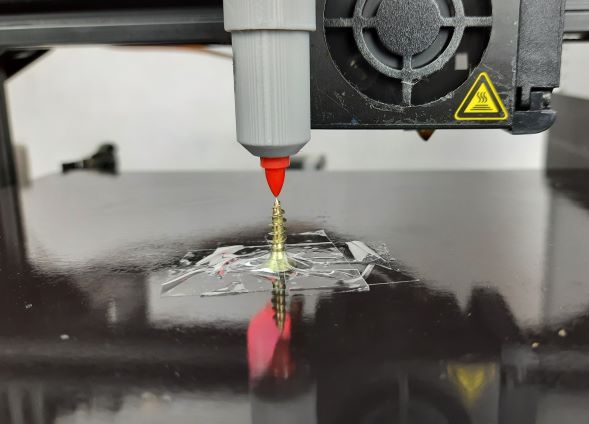
In the plugin settings window enter the configuration values you have written down during the hardware setup phase. The Pen X,Y and Z Offsets refer to the coordinates of the pen just over the screw. Important: for the Z Offset you should subtract 2-2.5 mm from the value you have written down to make sure the has a good contact with the surface when coloring the printed layers.

position for Pen X,Y and Z Offset
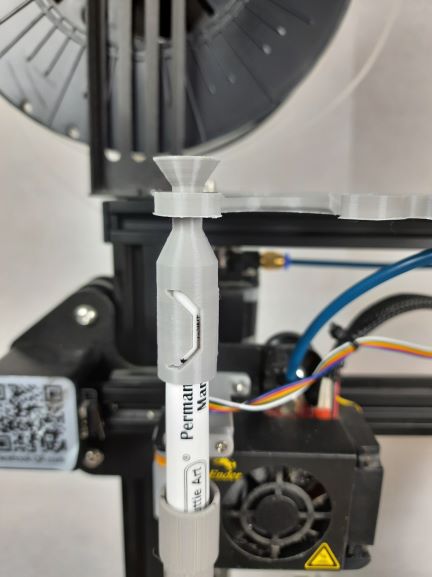
The *First Pen X and Z Positions" refer to position of the print head when the first pen is hold in the rack.

first pen position
While painting the surface with a pen we need to retract the filament by a greater amount than normal to prevent it from oozing onto the print.
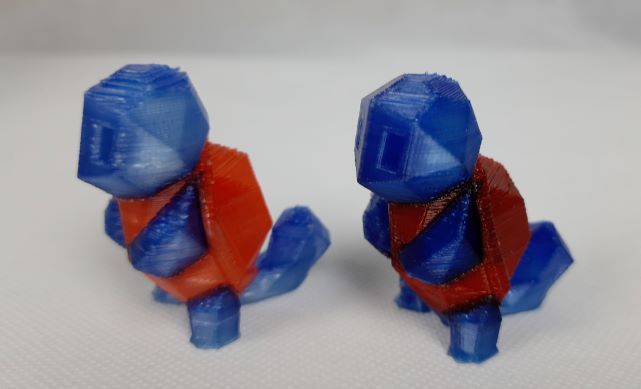
When painting the model it´s often enough to paint only every second layer. Activate this option to do so. Interlacing also lighten up the colors so they appear more like what you would expect when painting on paper. Otherwise the colors will come out a little darker. Interlacing will also reduce color bleeding between adjacent parts of the print. When it is activated every odd and even numbered pen will print together in the same layer. So when you have 2 colored parts that are close together it´s best to assign one color to an even numbered pen and the other to an odd numbered pen so they don´t interfere with one another.

left: interlaced colors right: non interlaced colors
The 3D print colorizer works by modifying the g-code generated by a virtual multi extrusion printer so that it´s using permanent markers to paint the print instead of actually using more than one nozzle. To do this we need to create a virtual multiextruder in Cura first. To do so go to Settings->Printer->Add printer and under Add non-networked printer Add a custom FFF Printer.
On the next page you need to enter your machine/printer settings. These should be the same as for your actual printer! You can switch back to your real printers settings and make screenshot or note them down if you are unsure about this settings. Don´t forget to also copy the start and end g-code. Now you can add up to 7 extruders to your printer. The first extruder always refers to an unpainted surface so you can use 6 real colors when going with 7 extruders.
correct settings for an Ender 3 with 4 colors
After Adding the extruders you need to go to each extruder tab individually and configure them. Important: by default the compatible material diameter property is NOT set to 1.75mm. You need to change this in every extruder tab.
filament diameter set to 1.75mm
To start printing right away you can start by using the CuraProfile.curaprofile file located in the Software folder. To import the profile go to Preferences->Configure Cura..->Profiles and click on Import.
profiles window
When creating your own printing profile the following settings are important:
| Property | Recommended value | Description |
|---|---|---|
| Relative Extrusion | True | The plugin only works with this activated. |
| Combing Mode | All | |
| Wall line count | 2 | We can reduce this to 2 since we only need to paint 2 walls then. This is enough and we will compensate for the loss in stability with some support walls later on. |
| Infill density | 40% | Since layer adhesion is quite poor for the painted parts we need to improve it with more infill. |
| Extra infill wall count | 5 | These walls print very quickly and compensate for the loss in "real" walls. |
| Printing temperature | Low | Low temperatures are advised to reduce the oozing when the extruder is idle. |
| Outer wall speed | 10-15 | This should be greatly reduced to improve layer adhesion. |
| Top/Bottom speed | 30 | This should be greatly reduced to improve layer adhesion. |
| Enable Retraction | True | |
| Retract at Layer Change | True | |
| Retract before outer wall | True | This needs to bo on otherwise the pen will draw over each other. |
| Build plate adhesion extruder | Extruder 1 | We don´t want to paint the adhesion lines. |
Important: if you change some values in your profile you need to copy this values to all of your extruders by right clicking on the property and selecting copy value to all extruders. Do this for every value you changed. The option copy all changed values to all extruders seems to be broken right now.
Please Help: If you find better settings please share your findings by opening a thread under discussions or contact my via 3dprintcolorizer@gmail.com.