-
Notifications
You must be signed in to change notification settings - Fork 9
00 Installation Guide
BGCFlow is currently tested on Linux (specifically Ubuntu 22). Running BGCFlow on Windows or Mac might lead to some dependency error in the pipeline.
BGCFlow requires different tools and database to be downloaded locally. Depending on which pipelines are set to run, it can take up as much as 201 GB of disk space for the resources. We recommend to only use the GTDBtk and EggNOG annotation pipelines when required as they take up the most space. Details follow:
$ (cd resources/ && du -h --max-depth 1 | sort -hr)
82G     ./gtdbtk
62G     ./eggnog_db
44G     ./bigslice
8.0G    ./antismash7_db
3.4G    ./BiG-SCAPE
1.4G    ./checkm
750M    ./arts
404M    ./metabase
276M    ./automlst-simplified-wrapper-main
35M     ./deeptfactor
17M     ./mibig
201G
However, the exact amount of disk space required will depend on the size of the input data and the number of samples being processed. This is for example the disk space usage for the Lactobacillus_delbrueckii project with 4 genomes and all pipelines enabled except GTDBtk and EggNOG:
$ du -h --max-depth 1 | sort -hr
57G     ./resources
23G     ./.snakemake
794M    ./data
66M     ./logs
52M     ./.git
16M     ./workflow
9.9M    ./.tests
384K    ./.examples
12K     ./config
8.0K    ./.github
81G .Before running BGCFlow, it is important to ensure that you have gcc installed on your system. gcc is required to compile some of the software packages used by BGCFlow. To check if gcc is installed on your system, you can run the following command in your terminal:
gcc --versionIf gcc is not installed, you can install it using your system's package manager. For example, on Ubuntu, you can install gcc using the following command:
sudo apt update
sudo apt-get install build-essential
On other systems, you may need to use a different package manager or download gcc from the official website. Once gcc is installed, you can proceed with running BGCFlow.
To use BGCFlow, it is required to have either Conda or Mamba package manager installed on your system. We recommend to use Mamba, which performs much faster in solving dependencies. In case you don’t use Mambaforge you can always install Mamba into any other Conda-based Python distribution with:
conda install -n base -c conda-forge mamba
For detailed installation instructions, please refer to the Conda or Mamba documentation.
Once you have Conda or Mamba installed, you can create a new environment and install BGCFlow wrapper using pip. BGCFlow wrapper is a command line interface wrapper to Snakemake and other utilities used in BGCFlow. BGCFlow wrapper will install Snakemake (>7.14.0) and other dependencies with:
# create and activate a new conda environment
conda create -n bgcflow -c conda-forge python=3.11 pip openjdk -y
conda activate bgcflow

# install BGCFlow wrapper
pip install bgcflow_wrapper
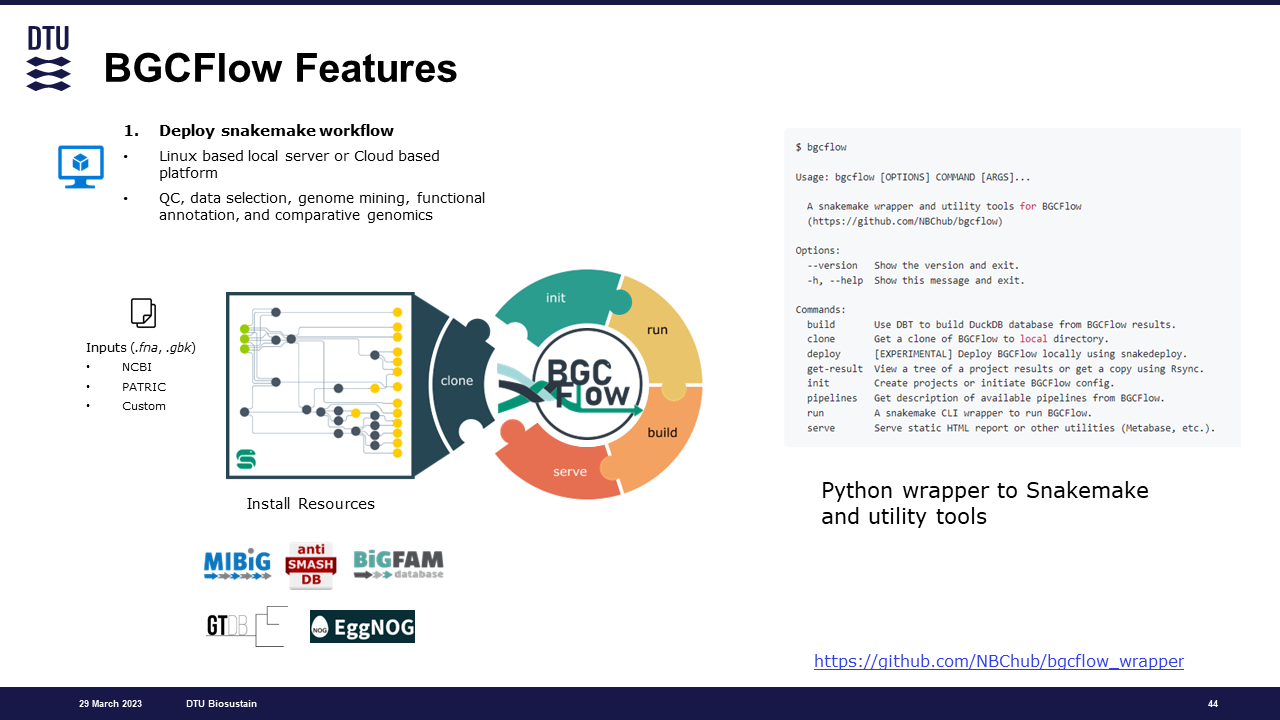
Check for the installation by running bgcflow --help, which will return all available commands:
$ bgcflow --help

Usage: bgcflow [OPTIONS] COMMAND [ARGS]...

  A snakemake wrapper and utility tools for BGCFlow
  (https://github.com/NBChub/bgcflow)

Options:
  --version   Show the version and exit.
  -h, --help  Show this message and exit.

Commands:
  build       Use DBT to build DuckDB database from BGCFlow results.
  clone       Get a clone of BGCFlow to local directory.
  deploy      [EXPERIMENTAL] Deploy BGCFlow locally using snakedeploy.
  get-result  View a tree of a project results or get a copy using Rsync.
  init        Create projects or initiate BGCFlow config.
  pipelines   Get description of available pipelines from BGCFlow.
  run         A snakemake CLI wrapper to run BGCFlow.
serve Serve static HTML report or other utilities (Metabase, etc.).While the wrapper installation covers the basics, there are a few additional steps to ensure smooth operation
Set the Conda channel priorities to 'flexible' for a more adaptable package resolution. With the environment activated, run this configurations:
conda config --set channel_priority disabled
conda config --describe channel_priorityBGCFlow relies on Java for certain operations. Install OpenJDK using Conda:
conda install openjdkWith these steps completed, BGCFlow should be able to run properly.

Follow the steps below to get BGCFlow set up on your machine.
-
Navigate to the directory where you want to store your BGCFlow installation. Make sure you have a decent amount of storage space available.
-
Run the following command to clone the BGCFlow repository to your chosen destination:
# clone repository locally
bgcflow clone <my BGCFlow folder>

# move to the cloned repository
cd <my BGCFlow folder>-
Replace with the path to your desired destination directory.
-
A new folder named will be created, containing this structure:
└── bgcflow
    ├── CITATION.cff
    ├── data
    ├── Dockerfile
    ├── envs.yaml
    ├── LICENSE
    ├── README.md
└── workflow- Alternatively, you can specify a specific branch or release tags of BGCFlow to clone using the --branch option. By default, the main branch will be cloned.
bgcflow clone --branch v0.7.1 <my BGCFlow folder>- You can also manually grab other releases from the the github repository tags and click on the release/tags of your choice.