This project was created as an example use case of ButterCMS with React and Next.JS, and will not be actively maintained.
If you’re interested in exploring the best, most up-to-date way to integrate Butter into javascript frameworks like React and Next.js, you can check out the following resources:
The following turn-key starters are fully integrated with dynamic sample content from your ButterCMS account, including main menu, pages, blog posts, categories, and tags, all with a beautiful, custom theme with already-implemented search functionality. All of the included sample content is automatically created in your account dashboard when you sign up for a free trial of ButterCMS.
- Next.js Starter
- Angular Starter
- React Starter
- Vue.js Starter
- Or see a list of all our currently-maintained starters. (Over a dozen and counting!)
- Check out the official ButterCMS Docs
- Check out the official ButterCMS API docs
Next.js is a small framework for building universal React webapps. Next.js comes with Webpack and Babel built-in. You can read more about the philosophy behind Next.js here.
ButterCMS is a hosted API-based CMS and blog engine that lets you build CMS-powered apps using any programming language. You can think of Butter as similar to WordPress except that you build your website in your language of choice and then plug-in the dynamic content using an API.
This projects shows how to integrate ButterCMS into Next.js application:
- How to create page with a list of blog posts and pages for each post. Learn more about blog integration here.
- How to dynamically create pages using data from ButterCMS pages. Learn more about fetching single pages and pages with types here.
- How to display collections items on the page. Learn more on how to query collections here.
- How to get all posts categories. Learn more about categories here.
- How to create pages with RSS, Atom, and Sitemap feeds. Learn more here.
Link to ButterCMS API documentation is https://buttercms.com/docs/api/.
- Create a free account on ButterCMS - https://buttercms.com/.
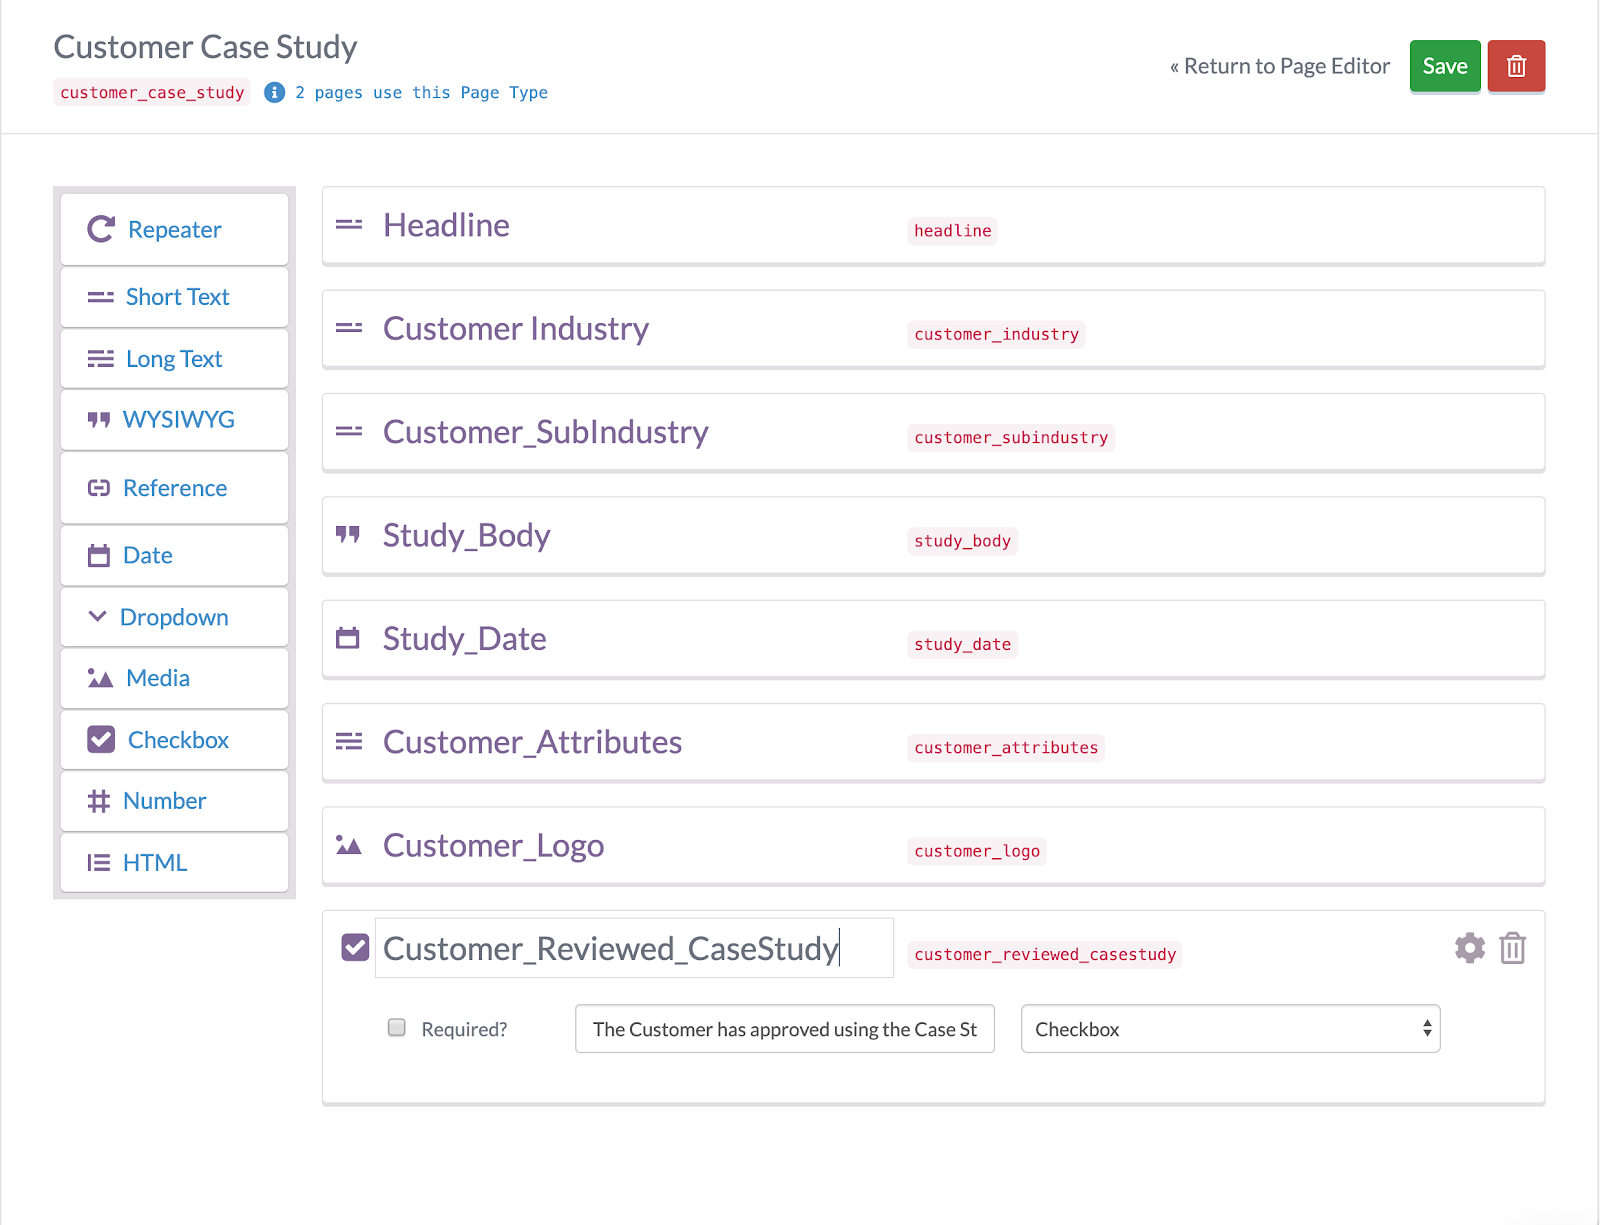
- To see the project locally you need to create this data in your account:
- Find your read API token from the home page or from settings page, it will be needed later.
- Node >= 12.0.0
- Clone and cd into project:
git clone https://github.com/ButterCMS/react-cms-blog-with-next-js.git
cd react-cms-blog-with-next-js.git
- Install all dependencies
npm install
or
yarn install
- Copy
.env.examplefile as.envand replaceBUTTER_CMS_API_KEYvalue with your read API token - Run the app in development mode
npm run dev
or
yarn dev
The application should be available at http://localhost:3000.
To build the project run npm run build and to start run npm start
- Create a Vercel account at https://vercel.com/signup and download the CLI
- Run
vercelat the project root
We can make use of the ButterCMS webhooks to notify the application every time a post, page or collection item are added or modified, and reload the Next.js application.
You can add a new webhook by going to the https://buttercms.com/webhooks/ page.
If you use Vercel, you can create deploy webhooks there. 
Next.js is a powerful framework that makes it easy to build universal React apps. With ButterCMS you can quickly build CMS-powered applications and websites with React and Node.js.
We hope you enjoyed this tutorial. If you have any questions about setting up your ButterCMS-powered application feel free to contact ButterCMS support.
View ReactJS Blog engine and Full CMS for other examples of using ButterCMS with ReactJS. And check out Next.js Blog engine and Next.js CMS for other Next.js examples.


