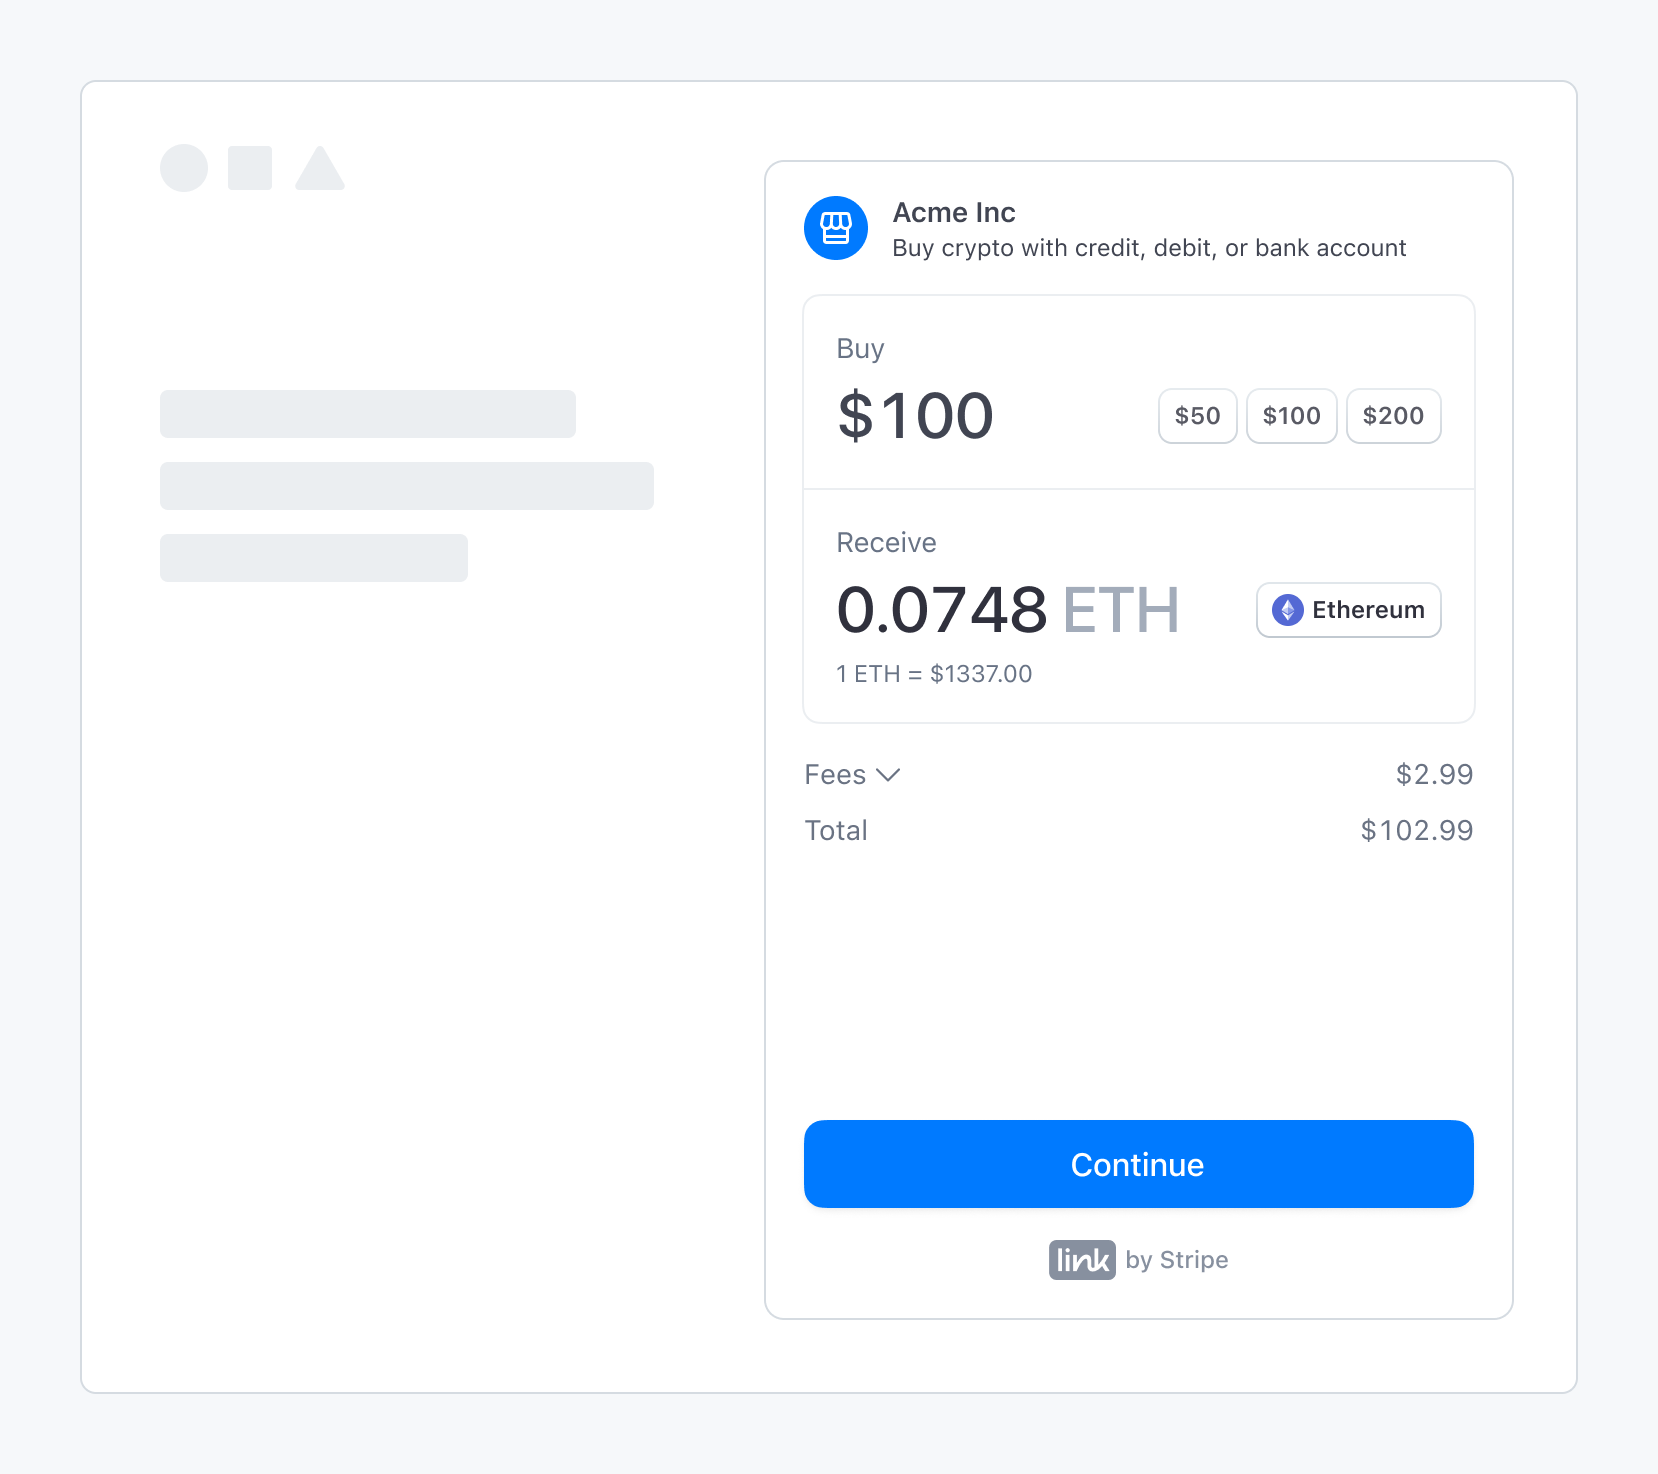
The Stripe Crypto OnRamp service allows individuals to securely purchase cryptocurrencies from your application.
This guide demonstrates how to use the StripePack as part of the OnRampKit and incorporate it into your web application.
We are going to learn how to render the Stripe widget into your page. This widget allows the use your own Ethereum address for onramping cryptocurrencies. As Stripe API usage requires a server to start the interaction with their services, we will also be using a pre-deployed server and providing a public key for testing purposes.
- Node.js and npm
- Stripe account to get your own public and private keys
- A deployed server (example) for communicating with Stripe APIs. We are providing both the public key and the server for testing purposes but you must use your own public key and server in production.
yarn add @safe-global/onramp-kit @stripe/stripe-js @stripe/cryptoThe StripePack can be used with any frontend framework like Reactjs, Vuejs, Angular or even plain HTML and Javascript. In this example, we are using it with plain JavaScript.
- Load the application and initialize the
StripePackusing the following snippet:
const stripePack = new StripePack({
  // Get public key from Stripe: https://dashboard.stripe.com/register
  stripePublicKey:
    'pk_test_51MZbmZKSn9ArdBimSyl5i8DqfcnlhyhJHD8bF2wKrGkpvNWyPvBAYtE211oHda0X3Ea1n4e9J9nh2JkpC7Sxm5a200Ug9ijfoO',
  // Deploy your own server: https://github.com/5afe/aa-stripe-service
  onRampBackendUrl: 'https://aa-stripe.safe.global'
})
await stripePack.init()- Add a container in any place in your web page. We choose to add a
divcontainer with an id ofstripe-root:
<div id="stripe-root"></div>- Render the Stripe widget inside the container by providing the CSS selector to the
elementprop in theopen()method:
// See options for using the StripePack open method in:
// https://stripe.com/docs/crypto/using-the-api
const sessionData = await stripePack.open({
  element: '#stripe-root', // Can be any CSS selector
  theme: 'light' // light | dark
  // Optional, if you want to use a specific created session
  // ---
  // sessionId: 'cos_1Mei3cKSn9ArdBimJhkCt1XC',
  // Optional, if you want to specify default options
  // ---
  // defaultOptions: {
  // transaction_details: {
  //   wallet_address: walletAddress,
  //   lock_wallet_address: true
  //   supported_destination_networks: ['ethereum', 'polygon'],
  //   supported_destination_currencies: ['usdc'],
  // },
  // customer_information: {
  //   email: 'john@doe.com'
  // }
})
Make sure you include the element. Otherwise, you may get the following error:
You can also specify the default options for the widget. For example, you can specify the default wallet address, supported destination networks, and supported destination currencies. See the Stripe API documentation for more details. The default options you specify using the open method will be passed through the Stripe API when using our provided server. When you create your own one (you need to do it on your production apps) you should do something similar.
- Listening to events is important for understanding what is happening around. It helps us to create a proper UI in our web page.
Check the Stripe frontend events for the list of available events.
const uiLoadedHandler = () => {
  console.log('UI loaded')
}

const sessionUpdatedHandler = (e) => {
  console.log('Session Updated', e.payload)
}

stripePack.subscribe('onramp_ui_loaded', uiLoadedHandler)
stripePack.subscribe('onramp_session_updated', sessionUpdatedHandler)

...

stripePack.unsubscribe('onramp_ui_loaded', uiLoadedHandler)
stripePack.unsubscribe('onramp_session_updated', sessionUpdatedHandler)In production, each customer should pass an individual KYC process but probably you want to test your application before 😊. You can use the following test data for bypass the KYC process while in test mode.
| Field | Value | Description |
|---|---|---|
| 8404.john.smith@example.com | Use any test or fake emails | |
| Phone Number | +18004444444 | Use +18004444444 for phone number |
| OTP Verification Code | 000000 | Use 000000 for the OTP verification code |
| First Name | John | Use any first name |
| Last Name | Verified | Use Verified for the last name |
| Birthday | 01/01/1901 | Use 01/01/1901 for successful identity verification |
| Identification Type | Social Security Number | Select Social Security Number for identification type |
| Identification Number | 000000000 | Enter 000000000 to fill the identification number field |
| Country | United States | Select United States for country |
| Address Line 1 | address_full_match | Use address_full_match for successful identity verification |
| City | Seattle | Use Seattle for city |
| State | Washington | Select Washington for state |
| Zip Code | 12345 | Use 12345 for zip code |
| Test Credit Card Number | 4242424242424242 | Use test credit card 4242424242424242 |
| Expiration Date | 12/24 | Use future expiration date 12/24 |
| CVC | 123 | Use any CVC 123 |
| Billing Zip Code | 12345 | Use any zip code 12345 for billing |
Check a complete example in the safe-core-sdk repo. Follow the steps in the README.md to run the example and configure the environment variables (VITE_MONERIUM_CLIENT_ID is not necessary) for the pack following the .env.sample.


